

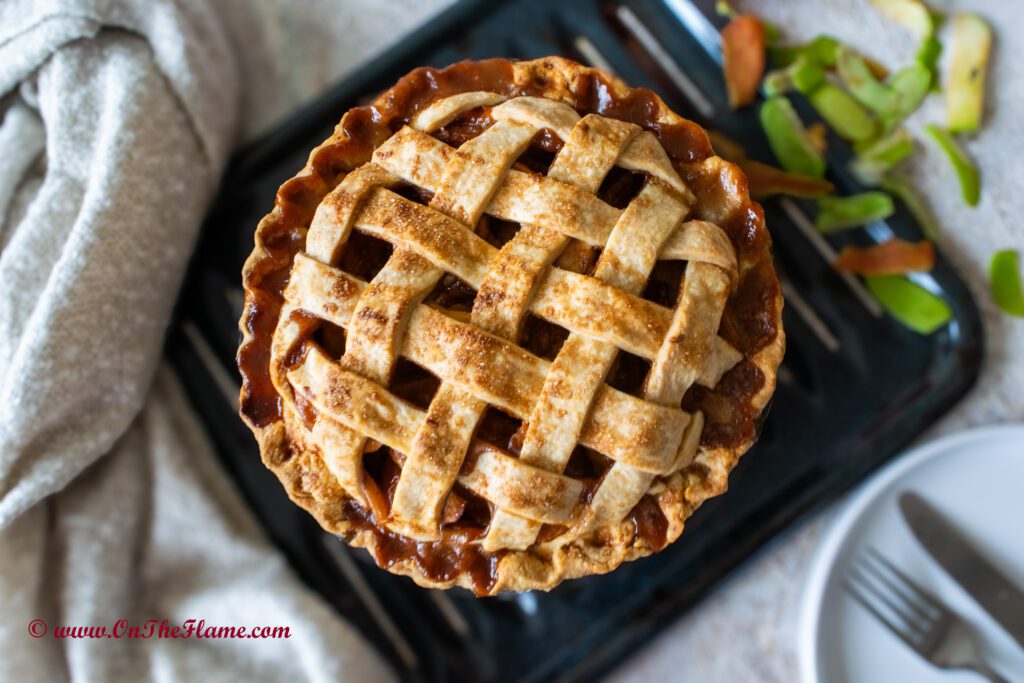
Eggless Apple Pie sounds like a delicious tradition to family and a must have dessert to complete your holiday spread. Apple Pie is an iconic American dessert, served and made during fall season and specially during Thanksgiving. For my family this is year-round dessert, we make it anytime to celebrate our happiness. Making everything from scratch really elevates the flavors, especially with the gooey spiced apples and that flaky, buttery crust.
If you looking for perfect eggless apple pie recipe, you have come to the right place. Being strictly vegetarian, for years me and my family kept wondering about this famous apple pie. I pushed myself one thanksgiving after my son started asking for it. And trust me I nailed it in first try after my pumpkin pie recipe was big hit. For both recipe I have used homemade pie crust from scratch. Trust me making pie crust is also not a big deal, its super easy and make perfect crust.

The recipe calls for granny smith apples also known as green apple or sour apple. Granny Smith apples are a great choice for apple pie, especially with their firm texture and tartness. Combining them with a sweeter variety like Honey crisp sounds like a wonderful way to add complexity to the flavor. Taking that extra time to prepare it from scratch must really elevate the flavor and texture. Let me share the secrets to make best pie ever. First use fresh apples, its really worth the extra 5 minutes and you’ll never want canned apple pie filling again. Second, to bring out the best apple flavor and texture, toss the filling for only 2-5 minutes on the stove. And last but not the least to have homemade pie crust.
Topping your homemade eggless apple pie with vanilla ice cream sounds like the perfect finishing touch! That combination of warm, gooey pie with cool, creamy ice cream is such a classic. It sounds like the perfect recipe to share and enjoy with loved ones! I’m sure anyone who tries your eggless apple pie will be asking for seconds.
Click here for Pumpkin Pie recipe.

Tools to Make Pie:
You don’t need any fancy equipment to make a pie. Food processors are easy but if you don’t have one, no worries. You’re absolutely right! Making pie crust by hand is totally doable, and many people love the tactile process of working the butter into the flour. Using a fork or a dough blender gives you great control over the texture, ensuring you get that perfect crumbly mixture for a flaky crust. It’s all about keeping the butter cold and working quickly.
List what you need to make a pie-

1st Method: Working with Food Processor





2nd Method: Working with Hands


Add both white and brown sugar. Add water, mix well and bring it to a boil ensuring everything blends smoothly. Once sugar is melted, switch off the flame.


Let it slightly cool down before adding the apples. Add sliced apple stir to coat evenly. Apple filling is ready. This step is optional, this step gives you a perfectly balanced, evenly spiced, and beautifully textured filling for your apple pie!





This Eggless Apple Pie with its flaky, buttery crust and rich, spiced filling is the perfect dessert to celebrate the season. The tender apples combined with the warmth of cinnamon and nutmeg create a comforting, aromatic filling that’s moist and bursting with flavor.
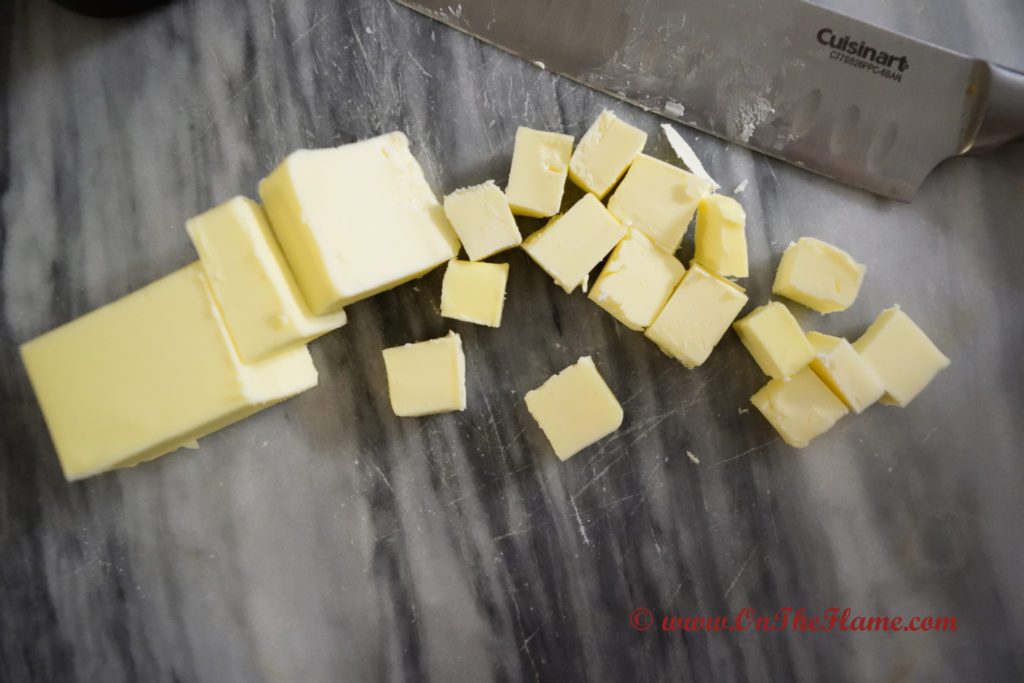
Cut chilled butter into 1/2 inches cubes.
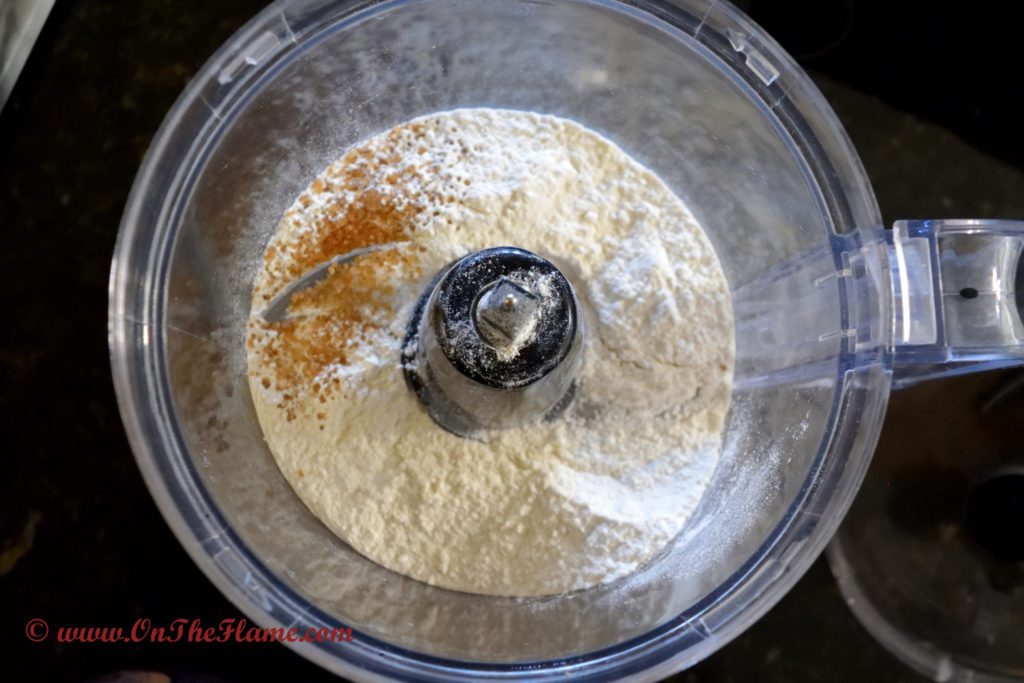
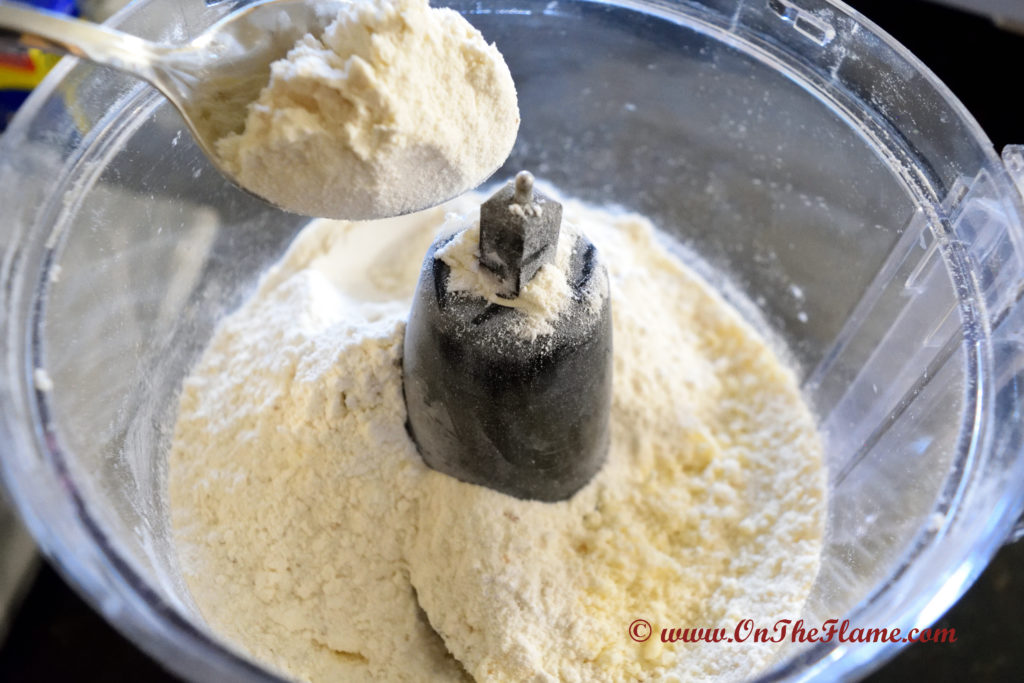
In a food processor add all purpose flour, sugar and salt, pulse to combine.
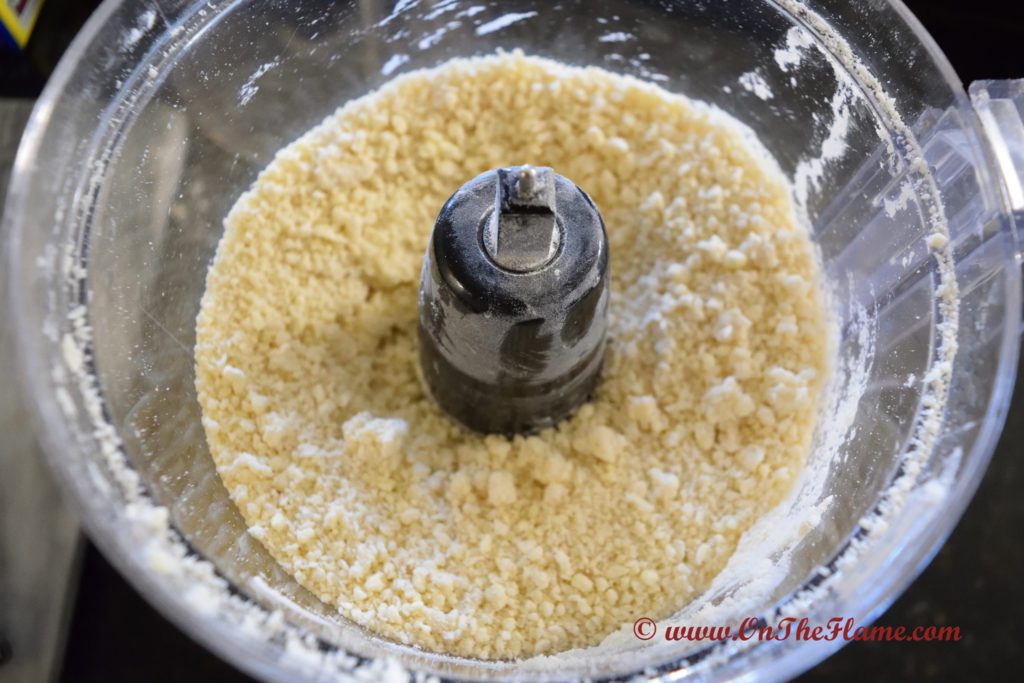
Remove half of the flour from the food processor and add cubed butter pieces, pulse till the mixture looks crumbly like fresh bread crumbs. Do not over do this step.
Now add remaining flour and pulse until flour is evenly distributed. The mixture should look crumbly with pea sized pieces.
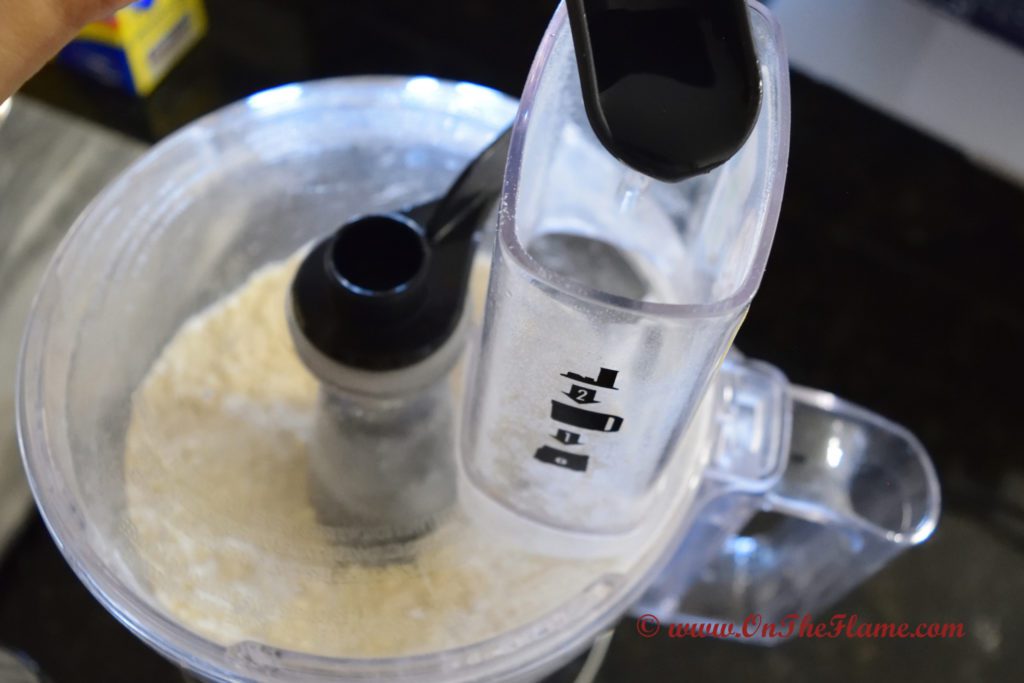
Now slowly add ice cold water over the mixture. Start with 1 Tbsp at a time, pulse until the mixture come together to form a large cluster.
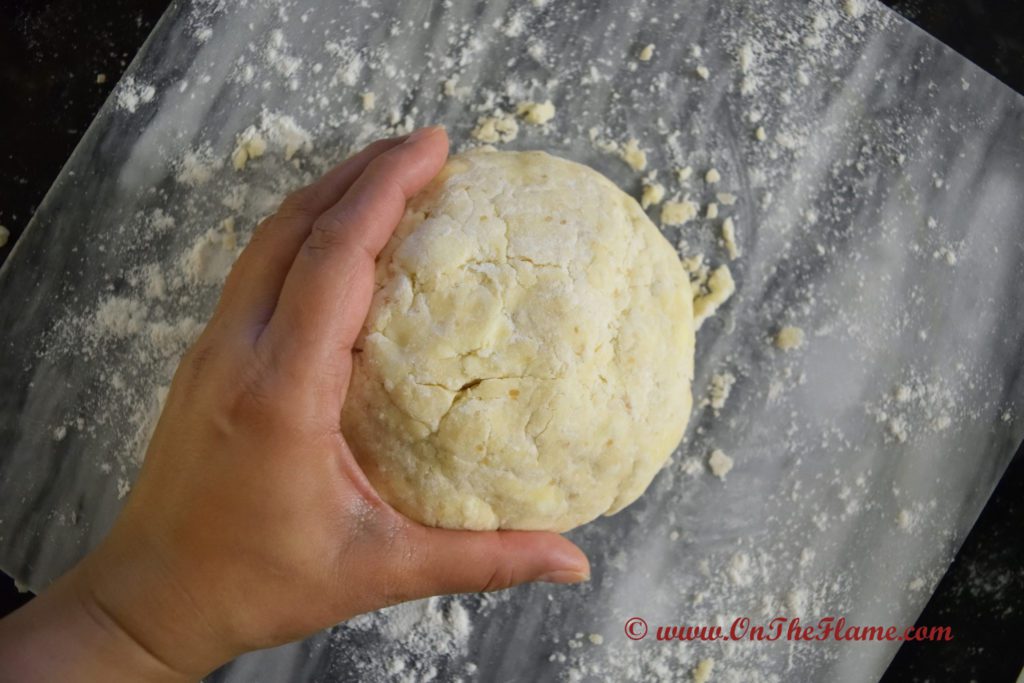
To check, pinch the dough, the dough should hold its shape, but not wet. But if its fall apart add 1-2 more Tbsp. of water and mix.
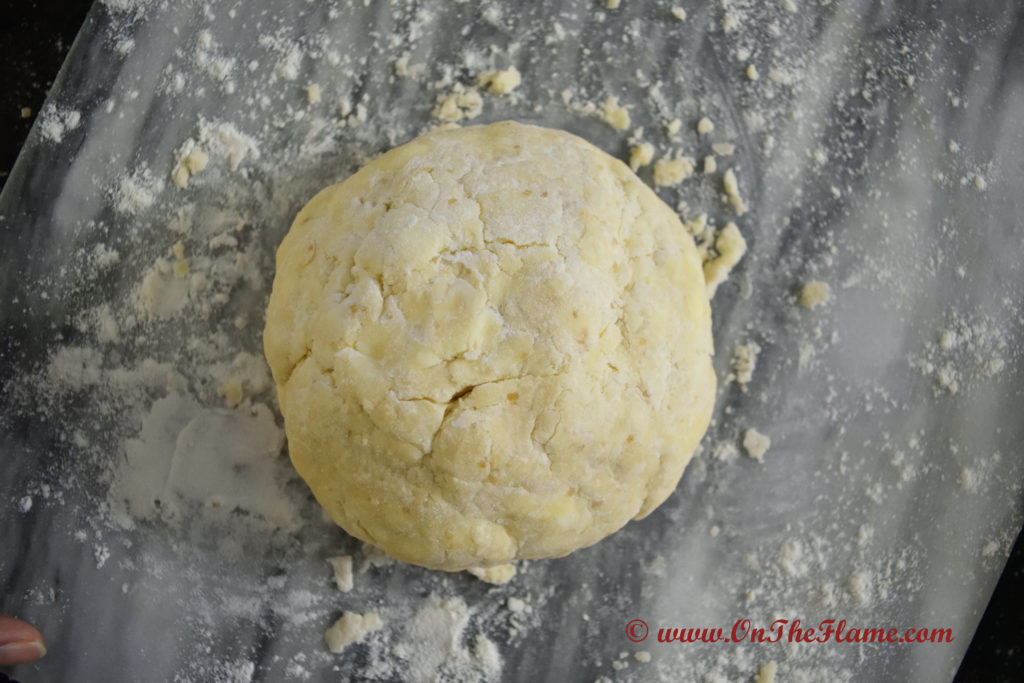
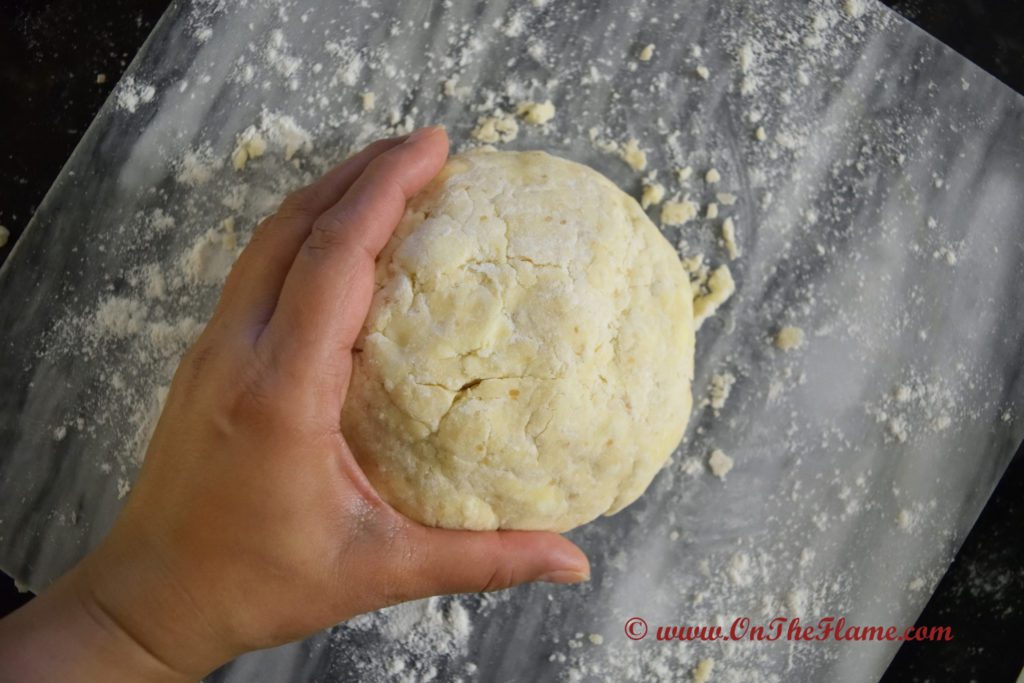
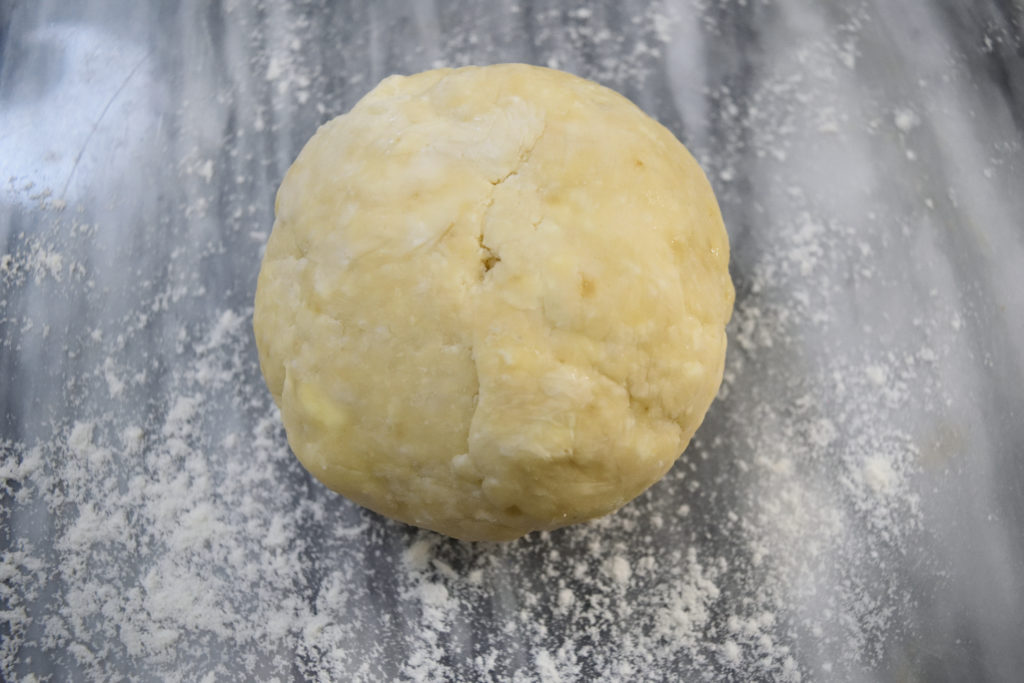
Now gather the dough and place it on a lightly floured work station.
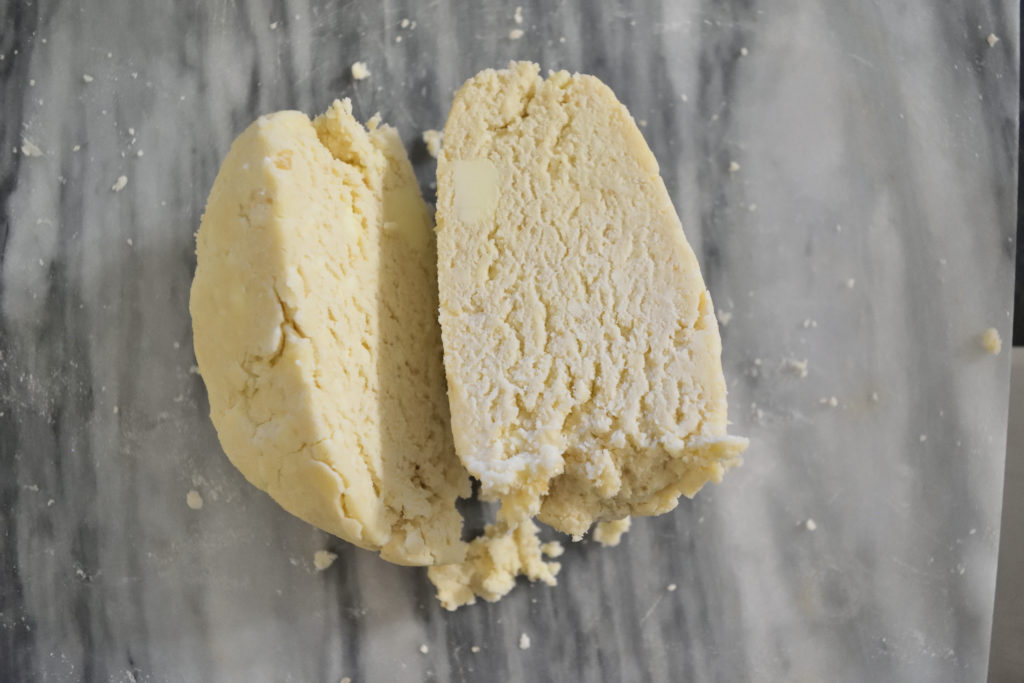
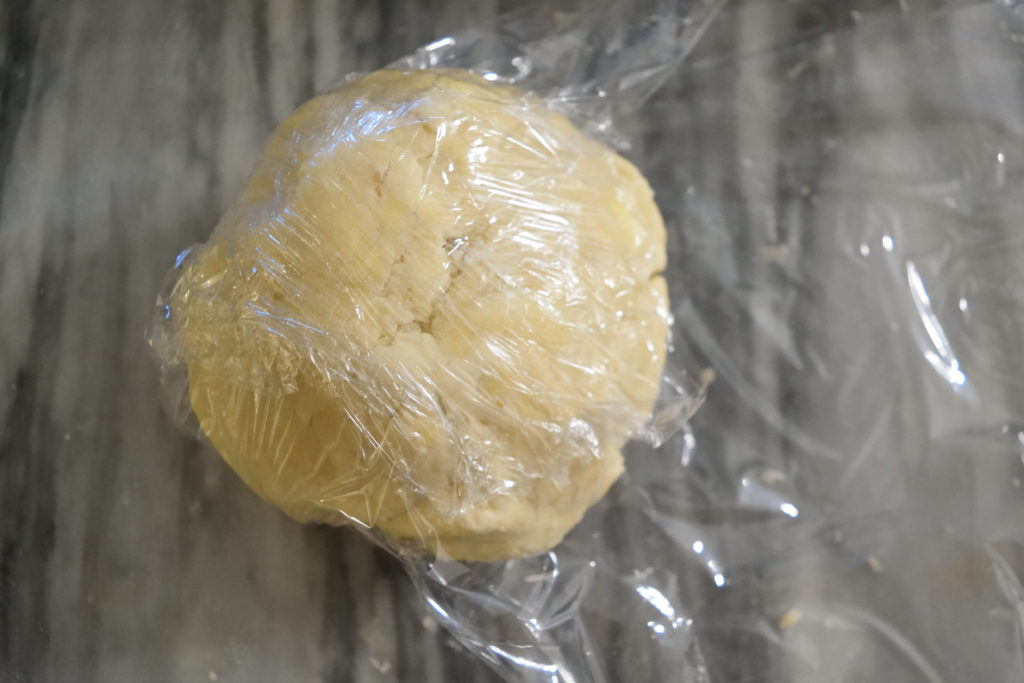
Using your hands gather the dough into a ball. Using your hands gather the dough into a ball. If you are making small pie or making double the recipe, divide the dough into half and wrap into two individual ball. The butter and flaky layer shows that the dough is perfectly done.
At this point you can freeze the dough for unto 2-3 months. Before using just thaw it overnight in fridge.
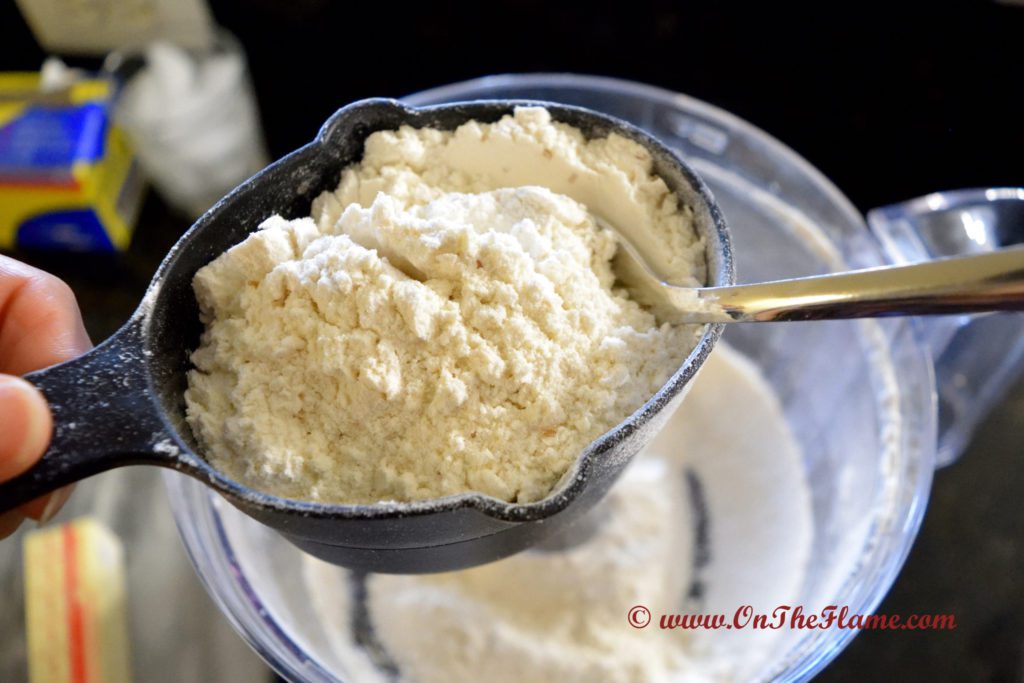
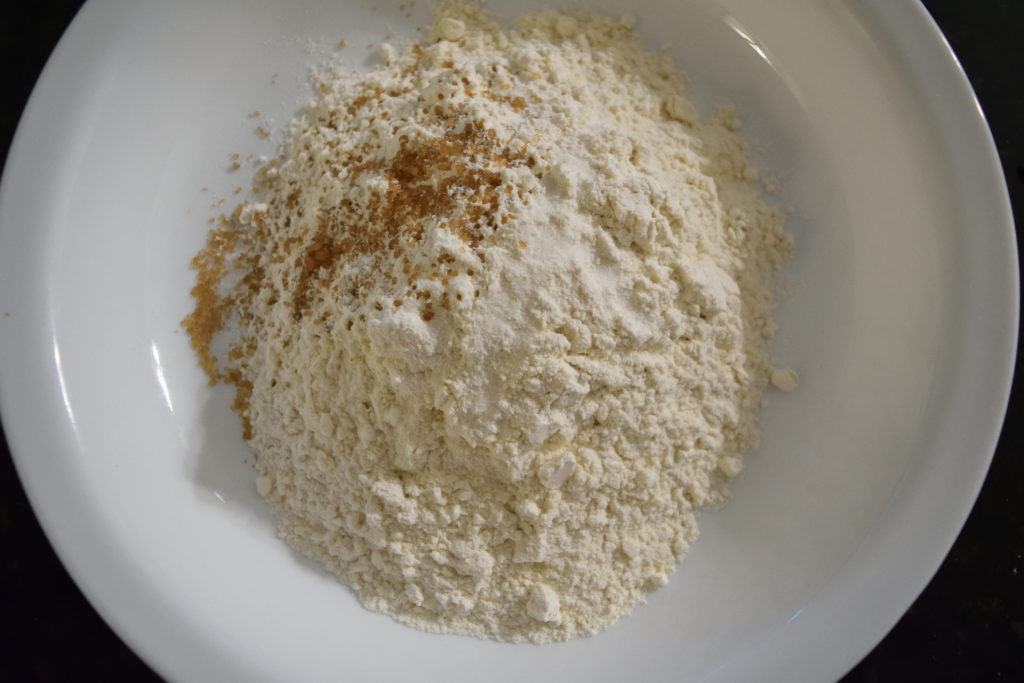
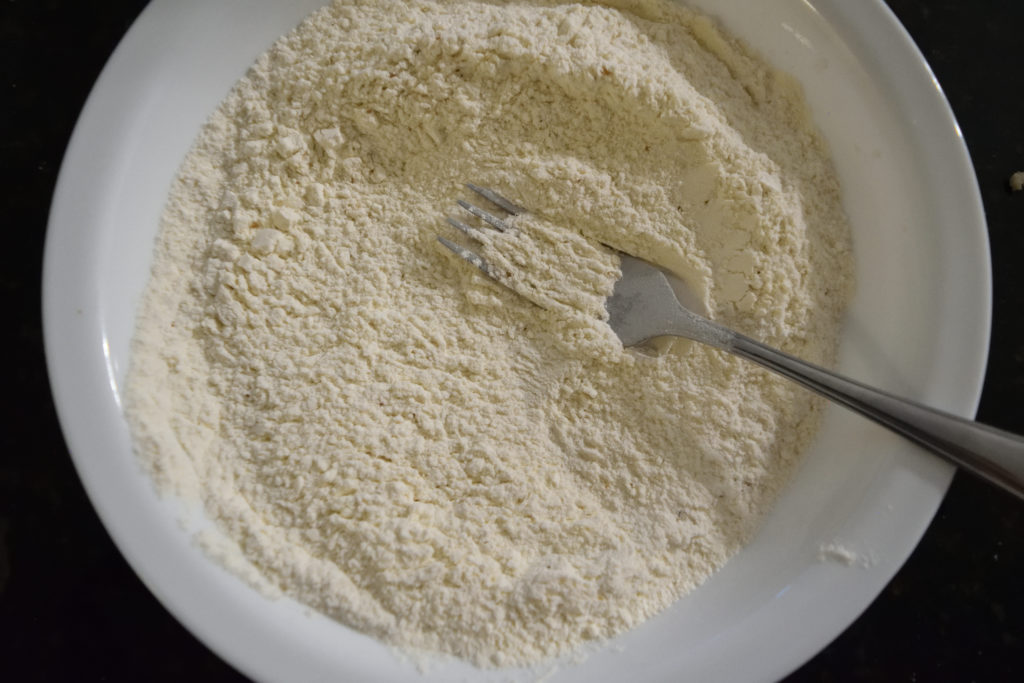
Add all purpose flour, sugar and salt in a medium bowl. Stir together to combine well.
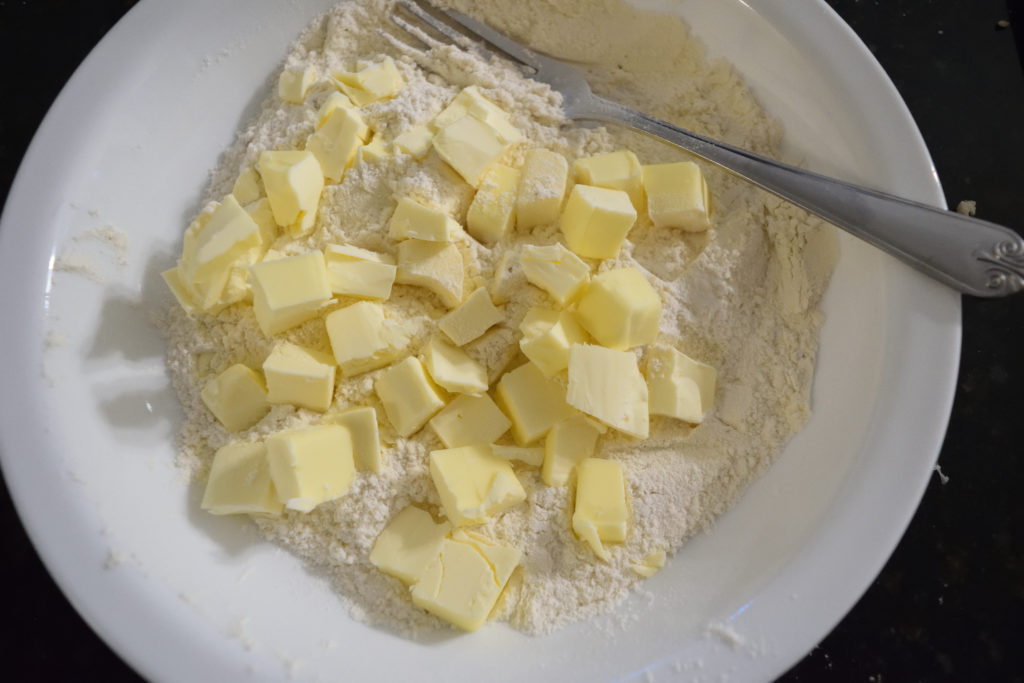
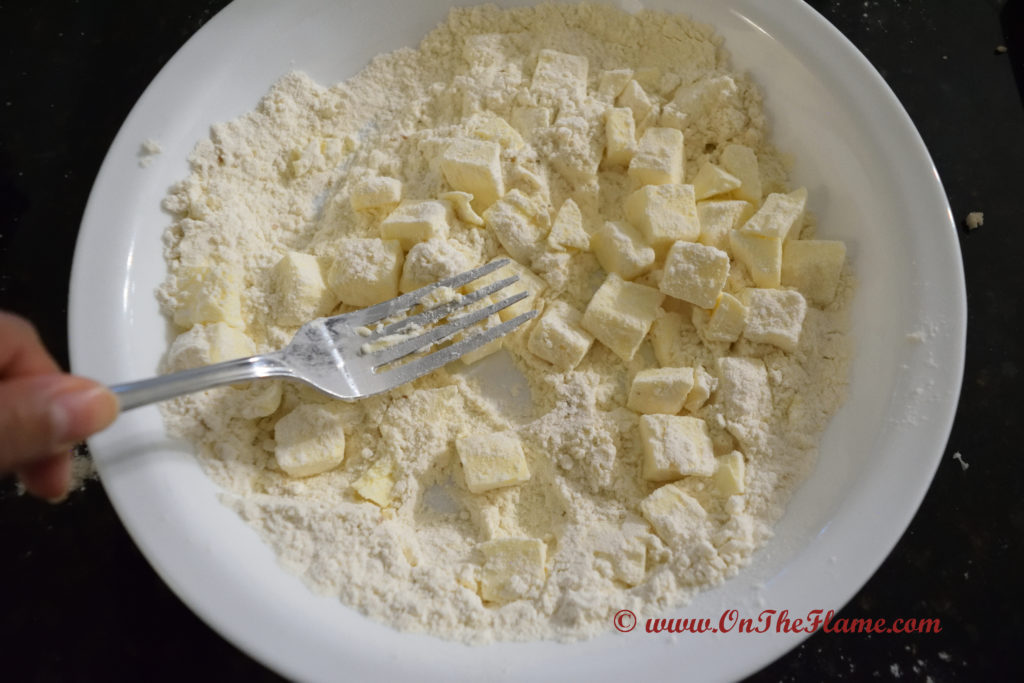
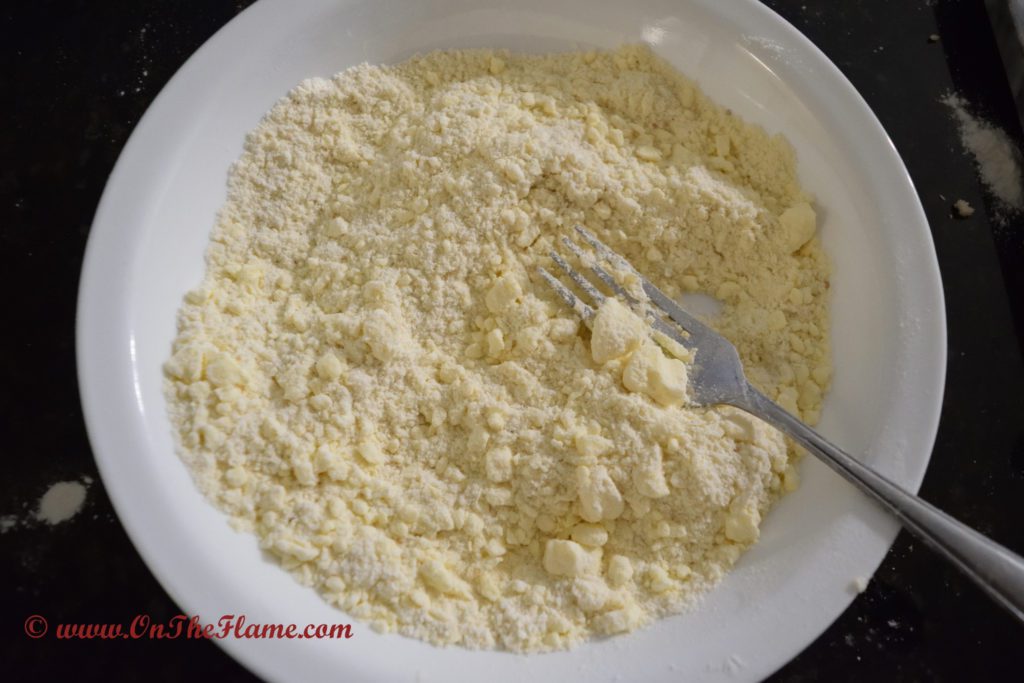
In a big bowl add half of the flour and scattered chopped butter all over it. With a fork or pastry blender, cut the butter to coat with flour or till the mixture looks crumbly like fresh bread crumbs. It will take about 1-2 minutes. Do not over do this step.
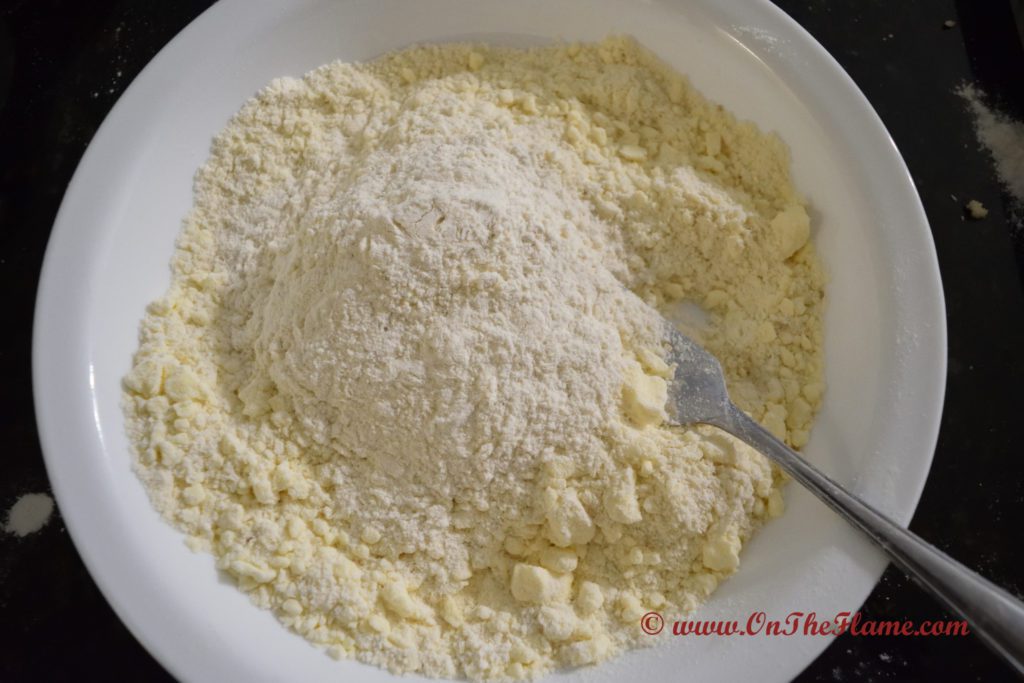
Now add remaining flour and working with fork/pastry blender, mix until flour is evenly distributed. The mixture should look crumbly with pea sized pieces. This will take around 20-30 seconds.
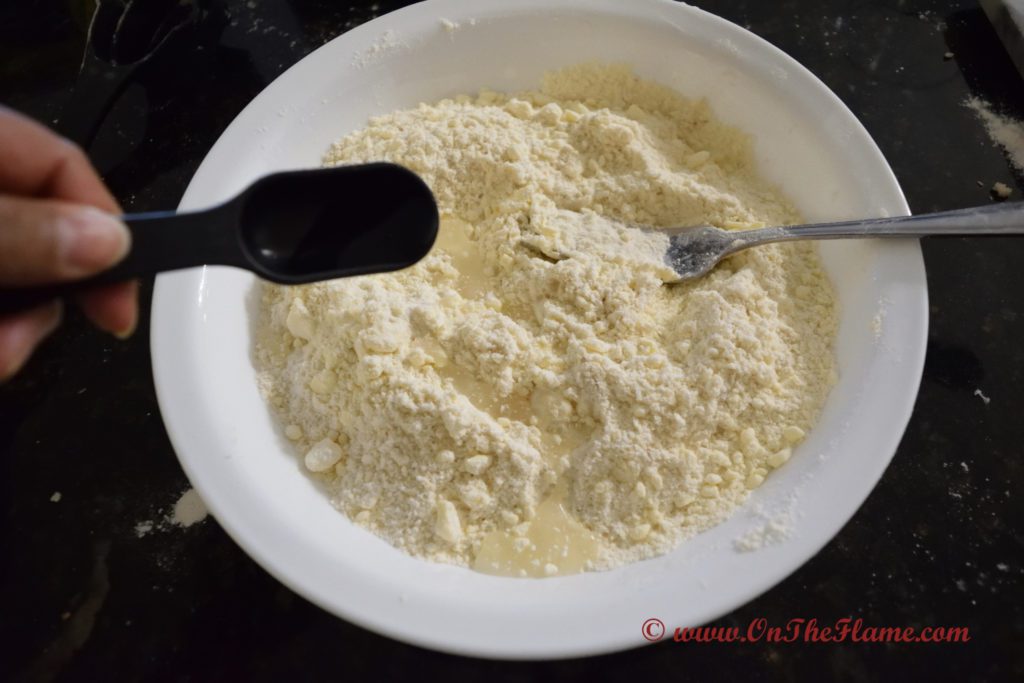
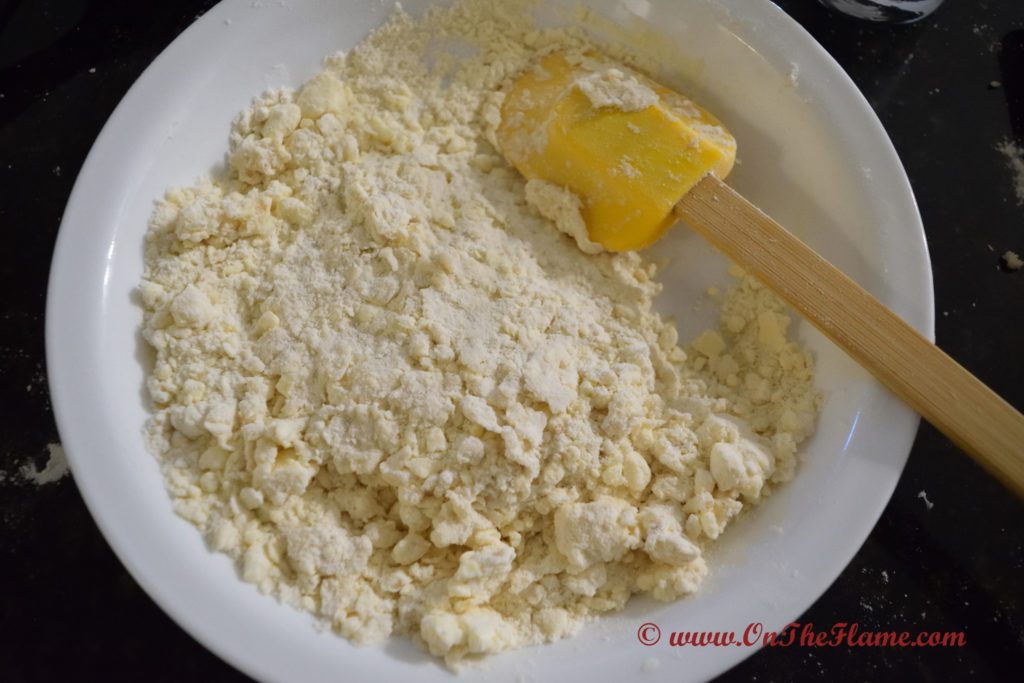
Now sprinkle ice cold water over the mixture. Start with 1 Tbsp. at a time, press and gather the dough using rubber/silicon spatula.
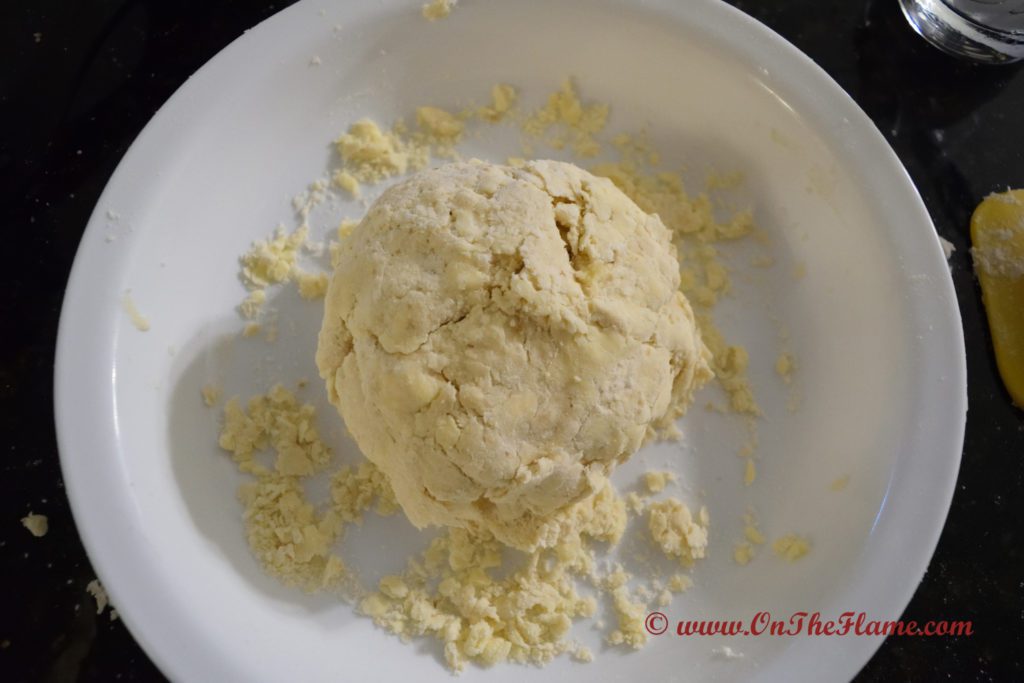
As you keep adding water the mixture will begin to form large cluster and it will starts to hold its shape.
Now gather the dough and place it on a lightly floured work station. The rest of the process is same as making dough with food processor.
Preheat the oven to 425º F (218º C).
Peel/Core/Slice the apples: Peel all the apples, remove core and evenly slice them.
Prepare the filling: Place sliced apples in a big mixing bowl, sprinkle cinnamon powder and nutmeg powder. Squeeze lemon juice on the top and toss to combine. Keep aside. Tossing the apples with lemon juice is a great touch—not only does it prevent the slices from turning brown, but it also adds a hint of brightness that complements the sweetness of the apples and spices.
Optional pre-cook/Make the filling:
Remove the dough from refrigerator and let it sit at room temperate for 8-10 minutes.
Place the dough on lightly flour work station.
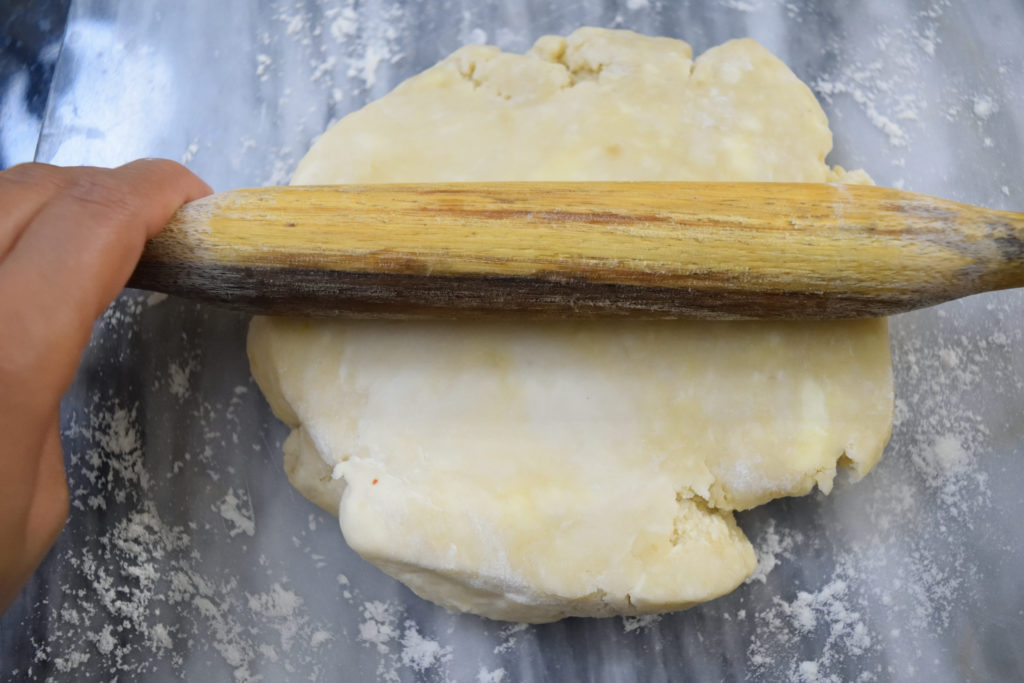
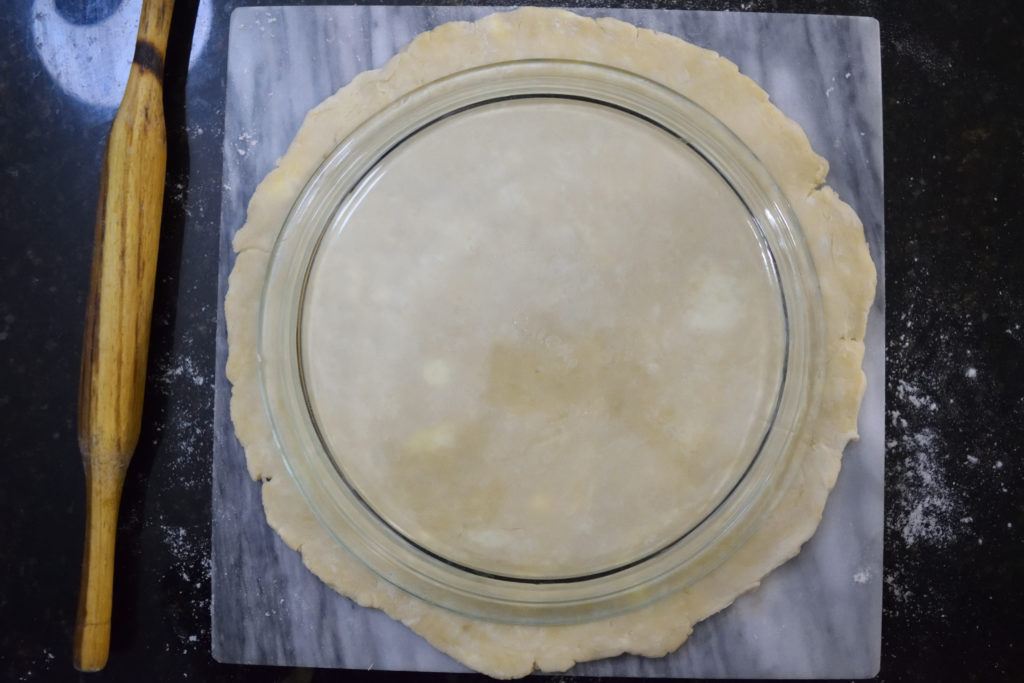
Now using a rolling pin roll out the dough to 11-12 inch circle and about ¼ inch thick. Keep turning the dough after every few rolls. Dust the dough with flour if sticks from the bottom while rolling.
The size might vary with the size of the pie baking dish. You will need 1-2 inch extra for the edge. To check the size place pie dish up side down over the rolled dough and add plus 1-2 inch.
Now transfer the rolled dough to the baking dish, starting from one end with help of rolling pin. To do so, roll the dough around the rolling pin and unroll it over the baking dish. Now gently press and tuck in the dough so that it lines the bottom and sides of the baking dish. Do not pull and stretch the dough to adjust.
Add apple mixture, making sure the slices are compact inside. Tucking the apple slices in tightly is crucial for ensuring an even bake and preventing large air pockets from forming in the pie.
Similar way roll the second dough ball to make top crust. To make top crust lattice crust works the best. Or alternatively, lay rolled-out pie crust on top, slit some vents on top with a sharp knife.
To the rolled dough using a knife or pastry cutter, cut around 12 stripes of 1 inch wide. To get that perfect lattice, start by laying half of the strips in one direction across the pie.
Then, fold back every other strip and place a new strip perpendicular to the first set. Unfold the folded strips, and fold back the opposite set to repeat the process. Continue weaving until the lattice is complete.
Fold the overhang back towards the center of the pie, and pinch the edges to adhere the top and bottom crusts together to seal.
Brushing a nice, even layer of milk helps the crust develop that rich, golden-brown color during baking, while keeping it moist and tender.
Sprinkling coarse sugar on top adds a delightful crunch and sparkle, giving the pie a lovely finish.
Bake: Place the pie dish onto a large baking sheet and bake at 425˚F in the center of the oven for 25 minutes. Reduce the heat to 350˚F and continue baking another 45 minutes or until apples are soft and filling is bubbling through the vents and the crust is golden brown. Baking the pie at an initial high temperature helps set the crust.
Cool and Serve: Remove the pie from oven and transfer to a wire rack. Allow it to cool down completely for at least 4 hours. The longer you let apple pie cool, the more the filling will set. Once pie is set slice and enjoy. Cover and store leftover pie at room temperature for up to 1 day or in the refrigerator for up to 5 days.
A sturdy crust is definitely key to supporting all those delicious apples and their gooey filling. To ensure your crust holds up well, here are a few tips:
Thank you for visiting my site...stay tuned for more recipes.