Valentine is right around the corner, so thought of making something special for my valentine. Before I come up with any idea, my son has this super yummy idea of making hot chocolate bombs for me this valentine. He is just 9 but was so excited to make them just for me. (He is totally not over with these chocolate bombs from holidays season.) I was on cloud nine and how could I say no…although I knew how messy it is going to be, right? But no worries this is how we all learn. Finally, we decided to make both semi sweet and white chocolate bomb to create more Valentine’s feel.
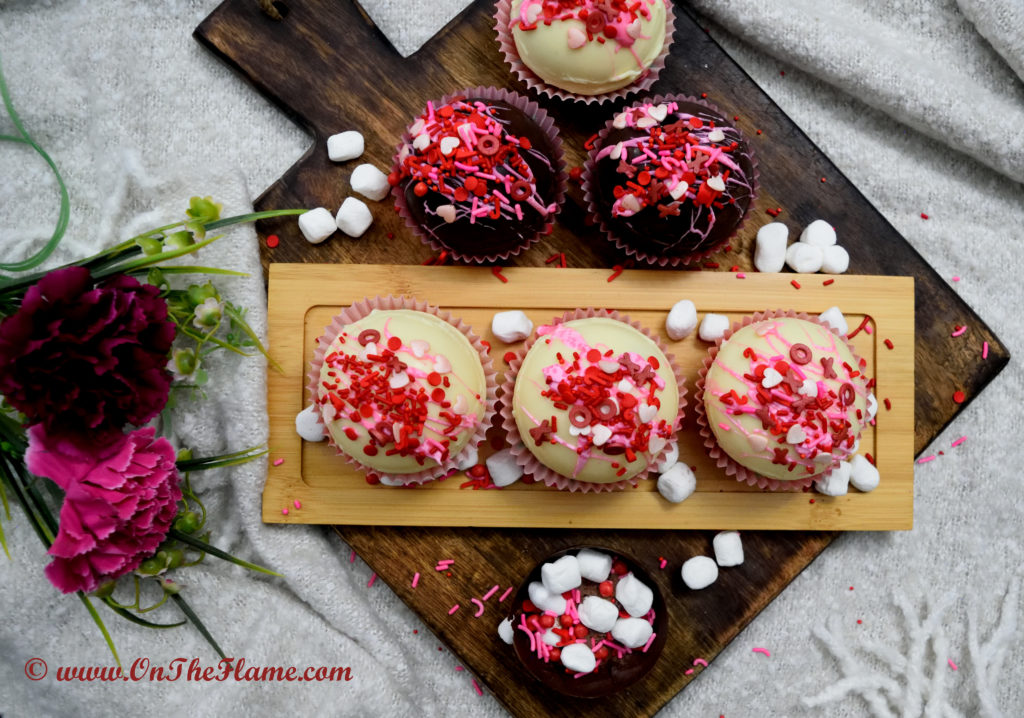
So that was my sweet little story behind these bombs, let’s get back to recipe. Hot cocoa bombs or hot chocolate bombs are tempered chocolate spheres filled with hot cocoa mix, mini marshmallows and sprinklers (sprinklers are optional here). These bombs are served with steaming hot milk, and the best part is to watch chocolate melting, releasing the cocoa and marshmallows to create a yummy cup of hot chocolate.

There are few things to consider while making these bombs, first of all and very important to use good quality chocolate with contains s a higher percentage of cocoa that is 65% or more than other baking or eating chocolate and contains cocoa butter. Also make sure there are not too many other ingredients added to your chocolate, as it won’t melt right and give glossy finish look. You can use chocolate block or chips but regular milk chocolate chips won’t work here.
This valentine’s try out these beautiful delights and impress your valentine. These bombs are so much fun to make and makes really a good valentine surprise. Do not forget to read quick tips before you start creating these bombs. Enjoy this chocolate rich treat and Happy Valentine’s to everyone!

Click here for more Valentine’s Special Recipes.
Step by Step Instructions with Photos
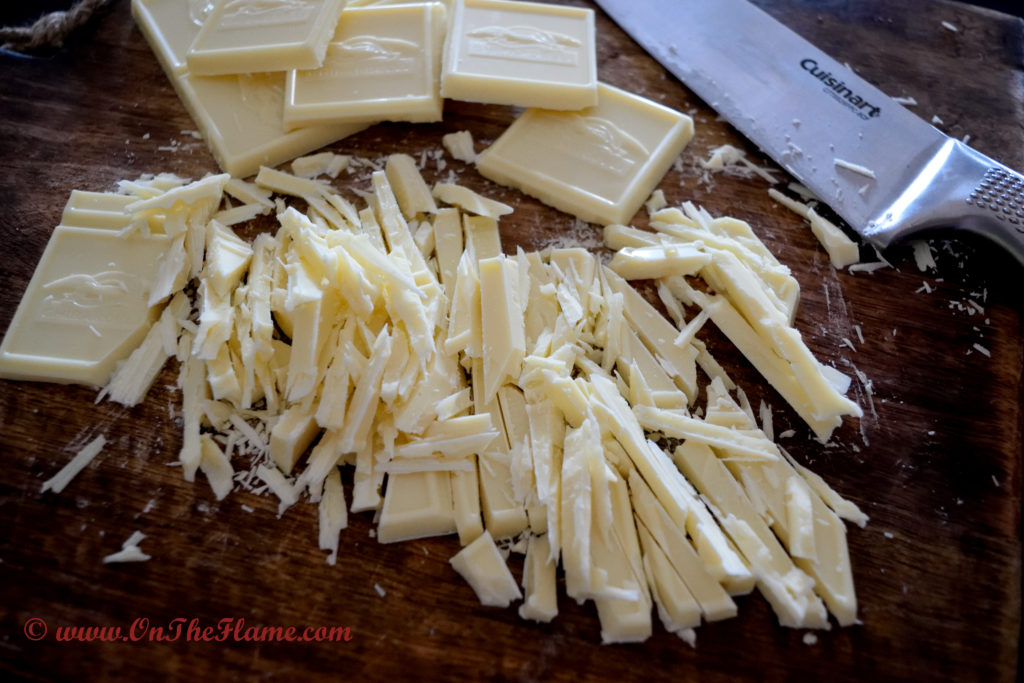
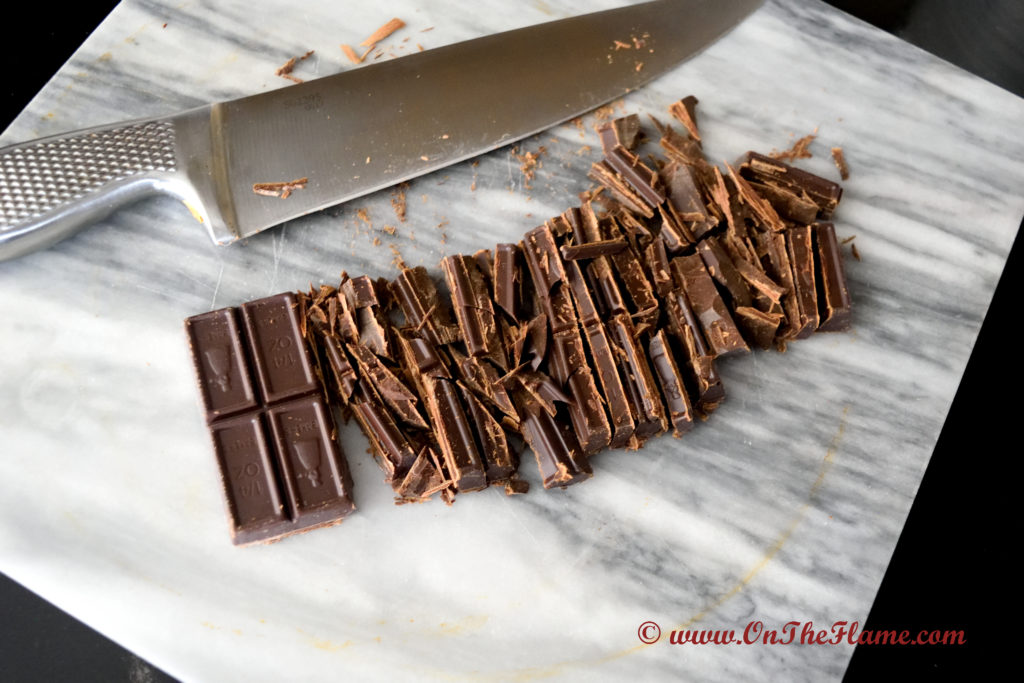
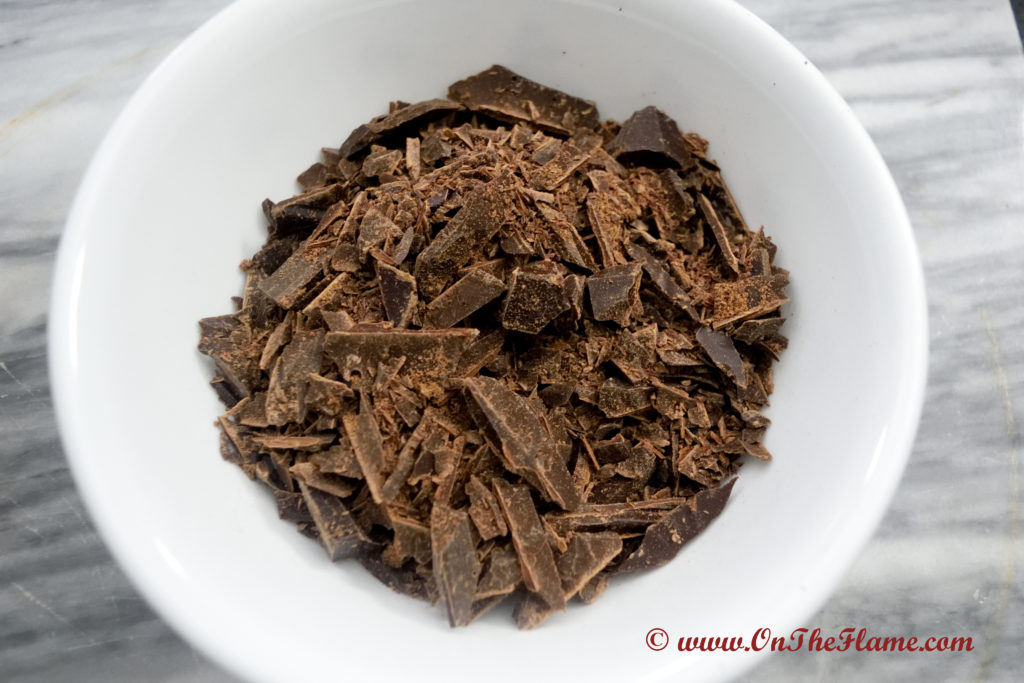
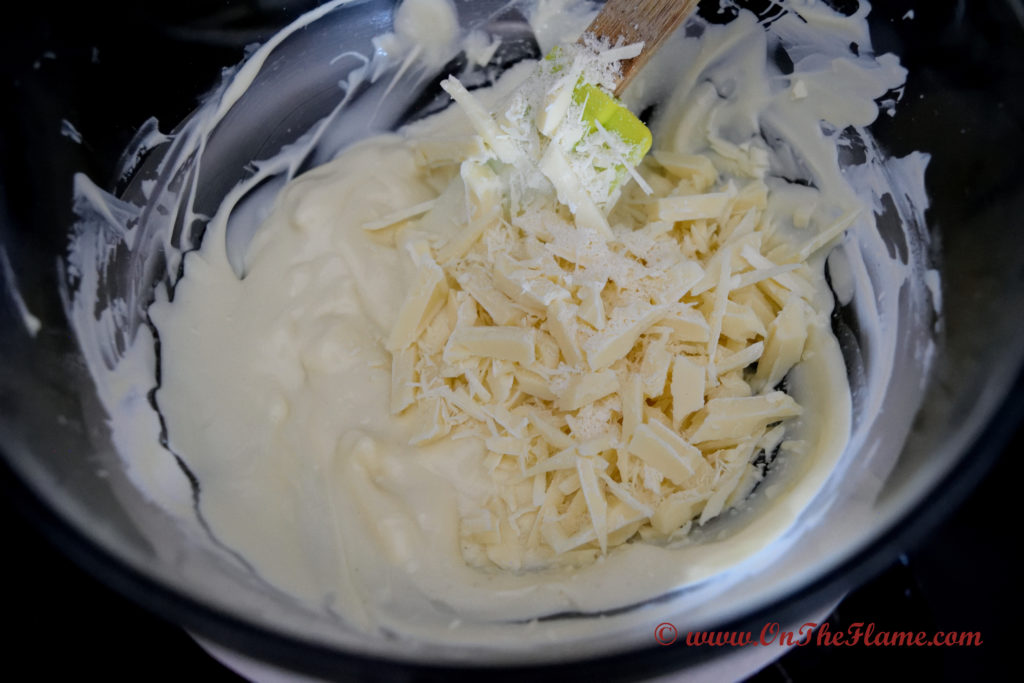
Chop Chocolate
- If you are using cooking chocolate bar, finely chop chocolate using a sharp knife.
- Chocolate chips can be used directly.
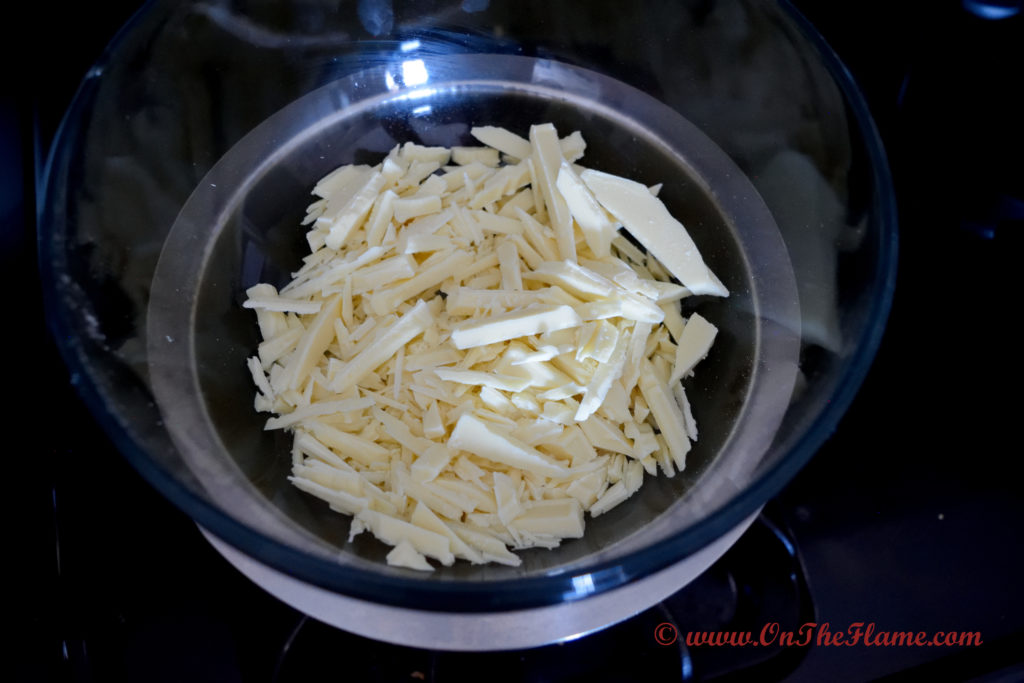
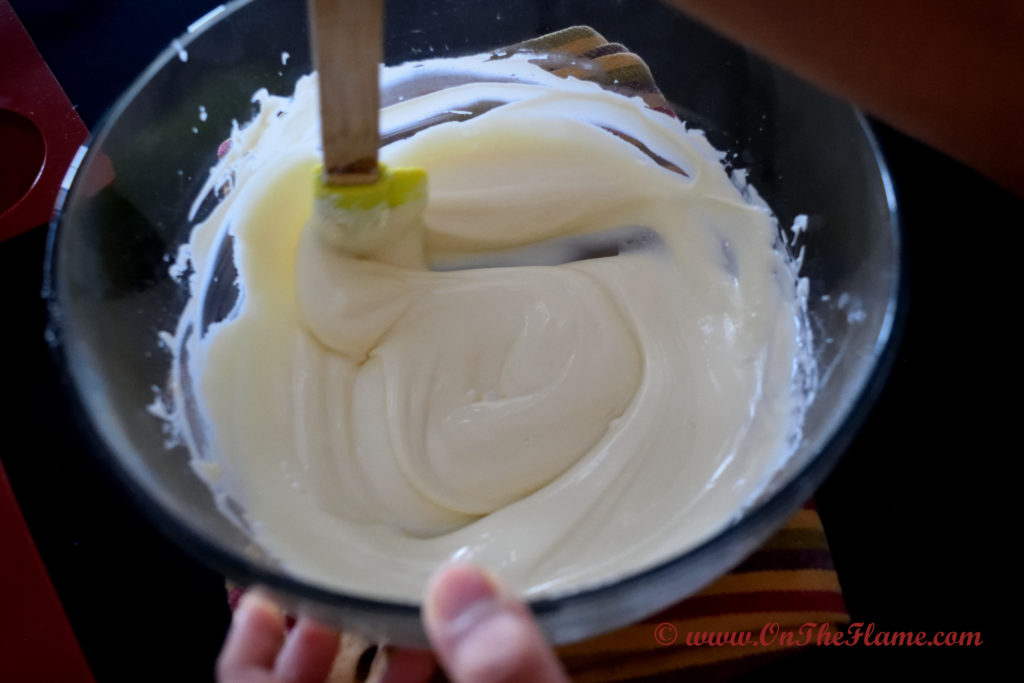
Tempering Chocolate
Tempering chocolate is process of heating and cooling chocolate. Tempering helps chocolate to stabilize, give it a smooth and glossy finish, set up beautifully for molding, coating or dipping chocolate treats. Tempering also helps chocolate from melting on your fingers while working with it. Tempering can be done with any one these two ways, explained below-
- Micro wave method– Place the chopped chocolate into a microwave safe bowl and heat for 30 seconds. Stir the chocolate, from outside toward the center. Heat again for 15 seconds and stir again. Repeat this process of heating and stirring, until the chocolate is almost melted. but not fully melted. Do not heat chocolate for longer than 15 seconds and never going above 90F. For me it took 1 minute in total.
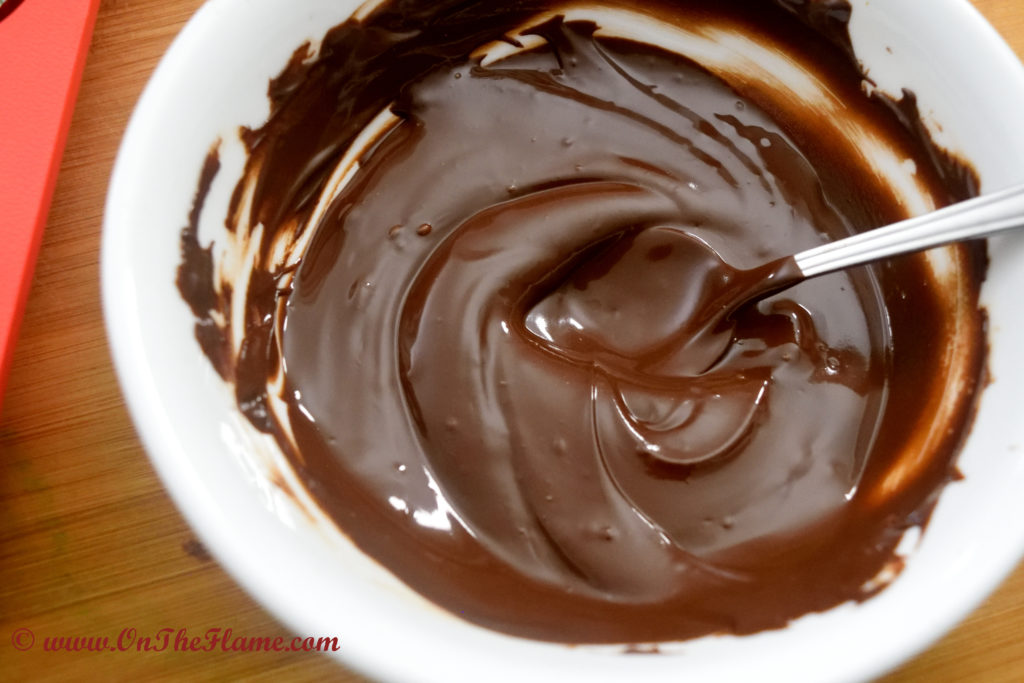
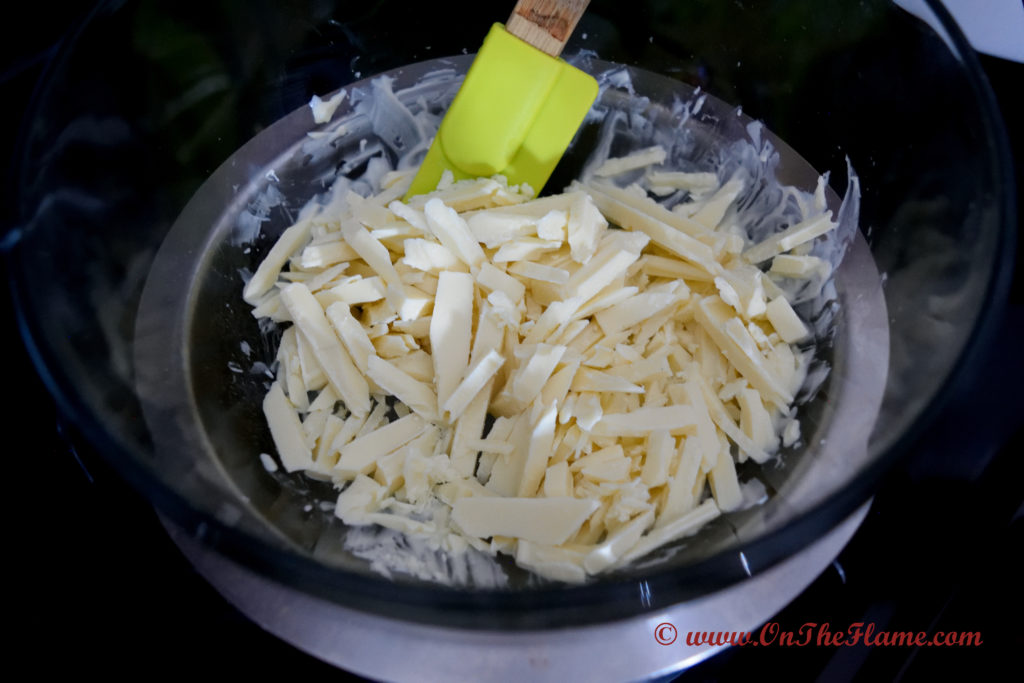
- Double boiler method- Set a double boiler, simply using a pan for bottom part filled with water and for top part a heat resistance glass bowl or pan to melt cholate in it. Fill the bottom pan with 1-2 inches of water and let it simmer in medium heat. Place 2/3 chocolate to the top bowl and place it over bottom pot. Melt chocolate in the double boiler over hot water (not boiling water), while stirring continuously using silicon spatula. Silicon spatula comes very handy while scraping from the sides. Keep an eye on the chocolate temperature, it should not get too hot and should not exceed 100° F. To check temperature, you can either use probe thermometer or check using your hand. It should be too hot to touch. Remove the bowl from double boiler and add remaining 1/3 of chocolate. Stir until everything is well incorporated and melted well. The chocolate is now ready to use.


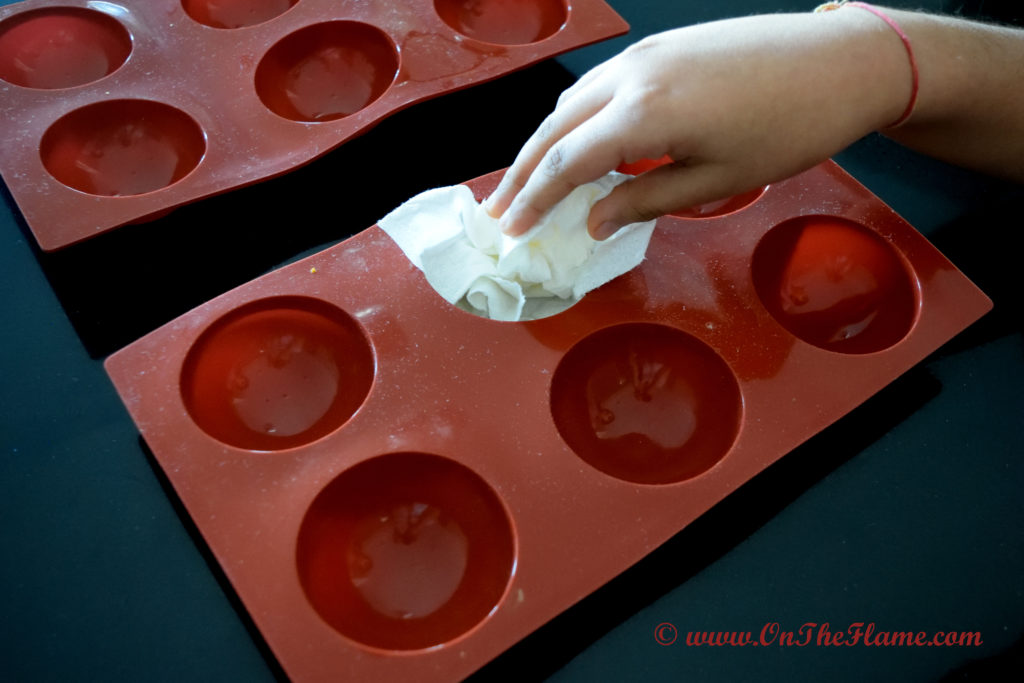
Coat the mold with tempered chocolate
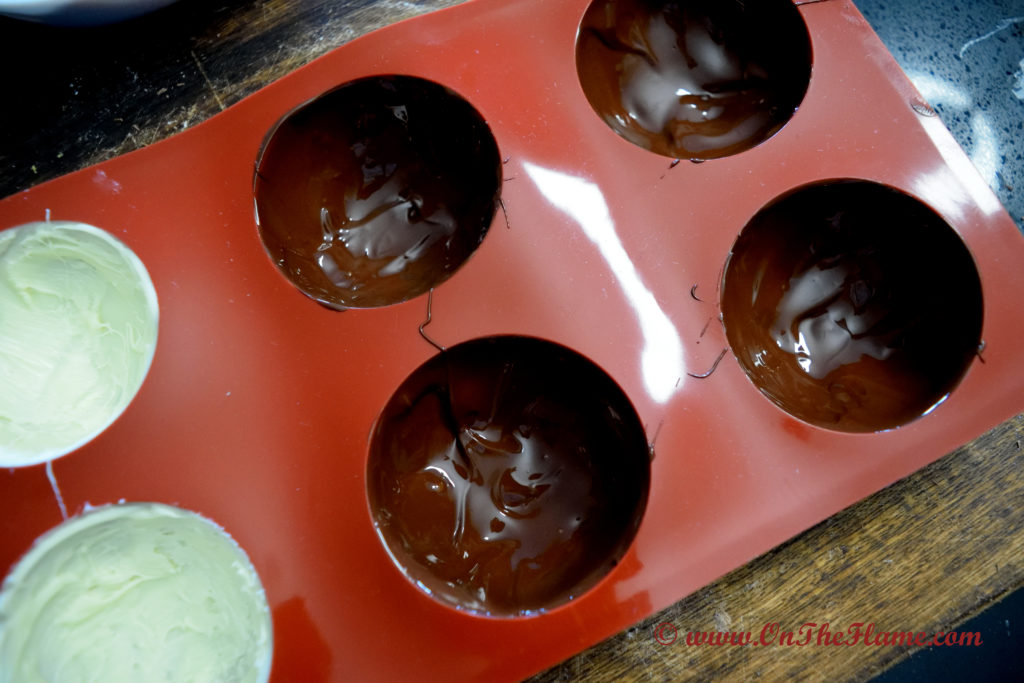
- Make sure the molds are clean and dry before using them. Pour 1 Tbsp. of chocolate in each sphere (I am using here 2 trays, 6 sphere, 2” wide).
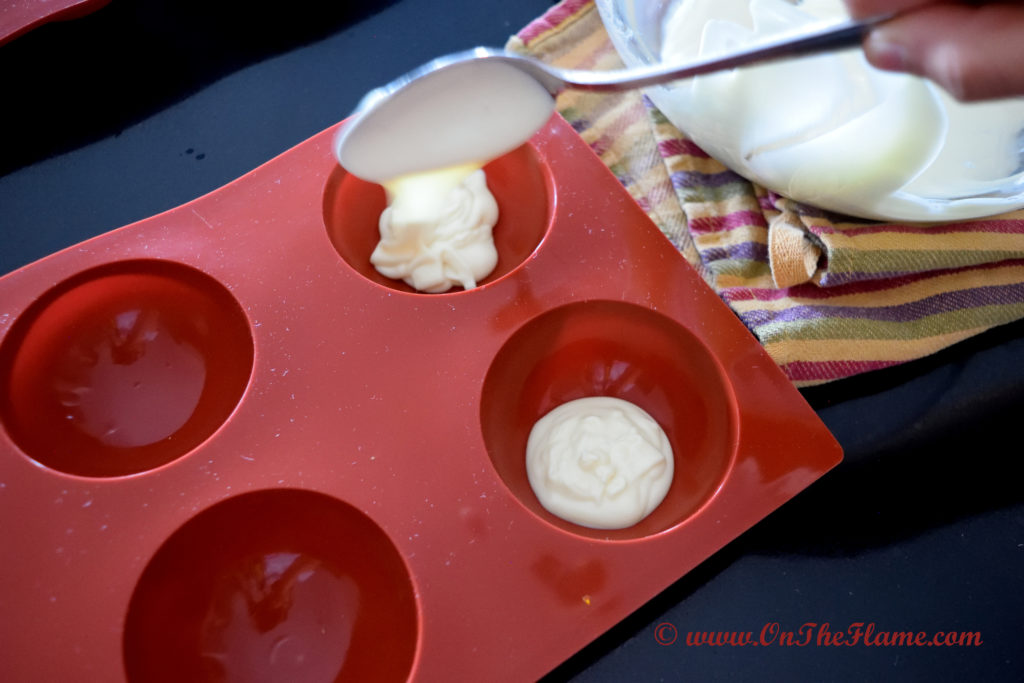
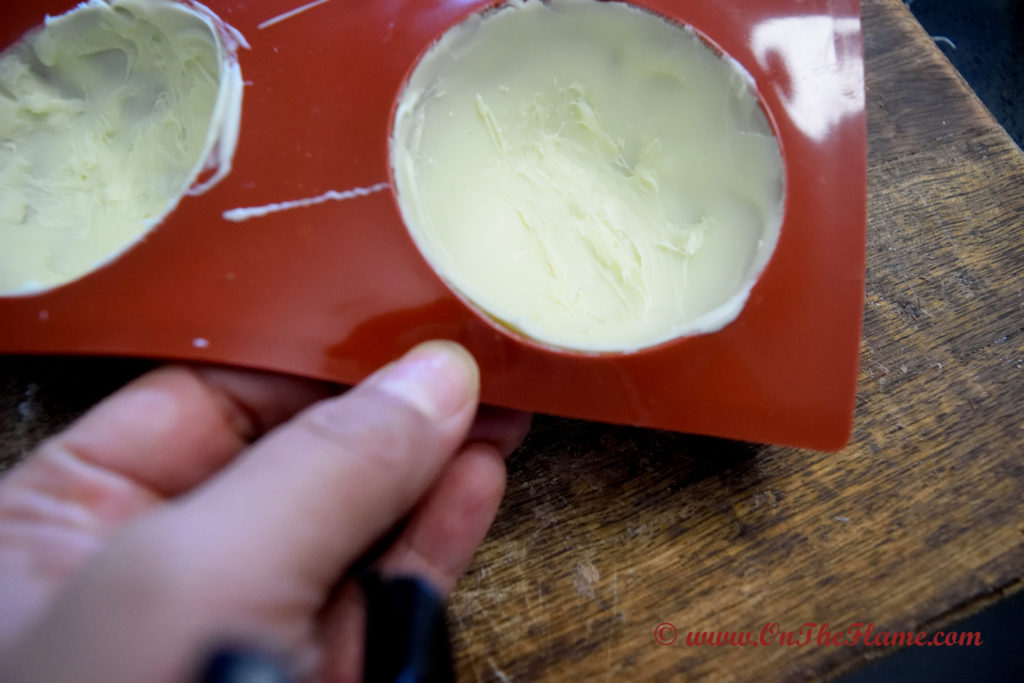
- Using a brush, spread the chocolate and coat the sphere well up to the sides and over the edges but just a bit.


- Once you see nice hard layer, pour around 1 Tsp. chocolate into the sphere and brush them well to get thick even coating.

- Let them sit at room temperature for 20-30 minutes or refrigerate for 5 minutes to set the chocolate spheres.
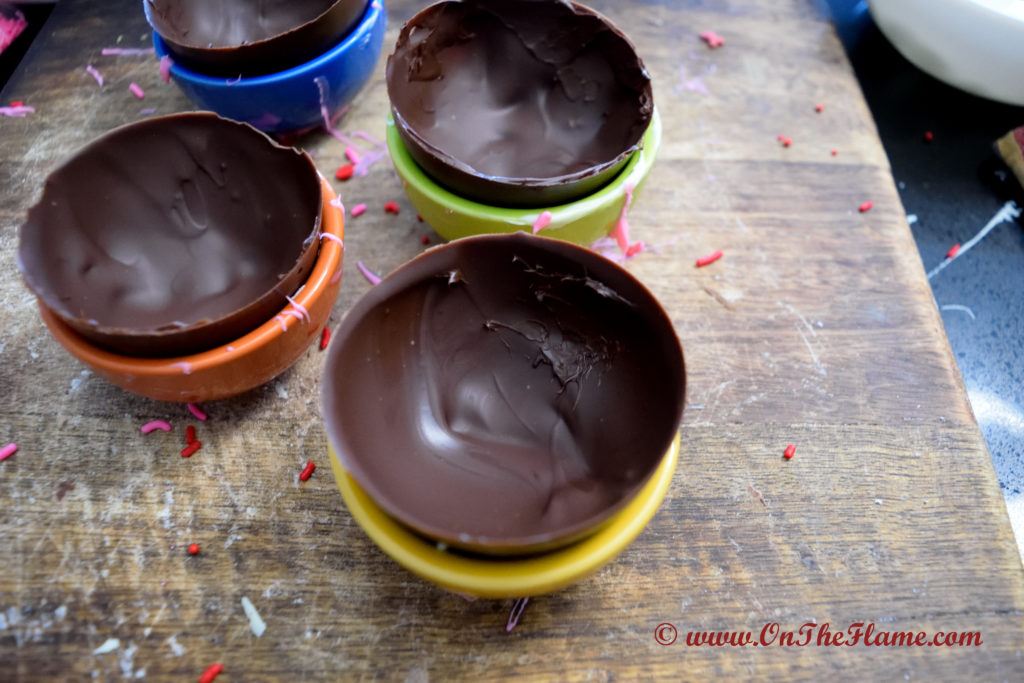
Remove the chocolate spheres from the mold
- Once chocolate spheres are set, gently remove half the spheres from mold and place over cookie cutter or small bowls or upside down on a dry tray.

- Leave half of them resting in mold.
- Do not forget to wear hand gloves.
- Bare hands might leave impression on spheres and spheres might start melting with body heat.
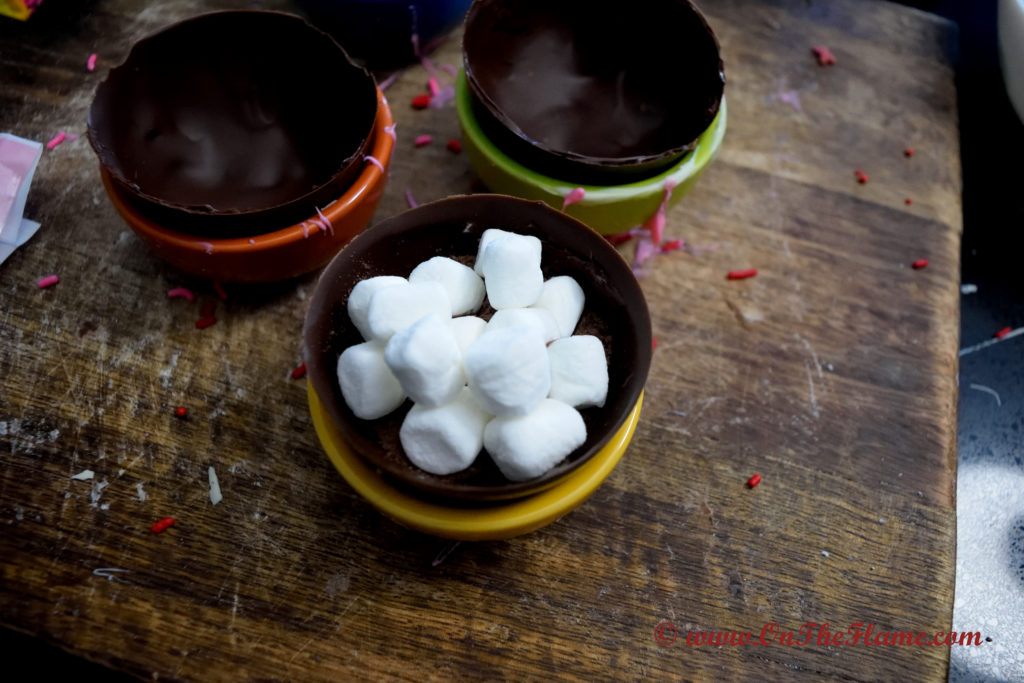
Fill the mold
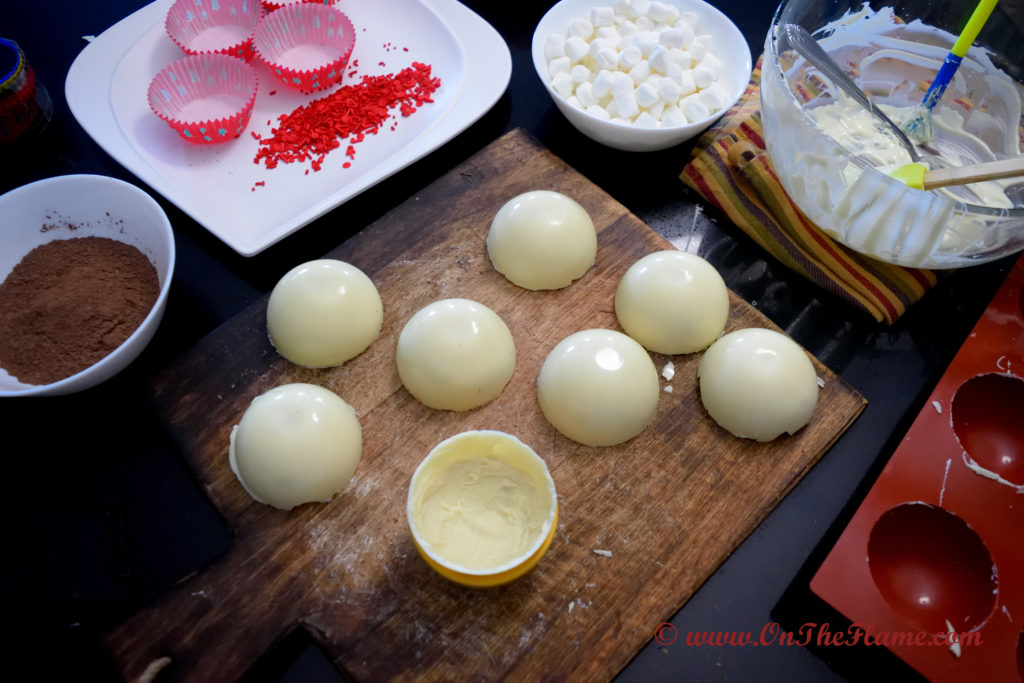
- Fill the half of the spheres with 1 Tbsp. of hot cocoa mix and mini marshmallow making mountain.
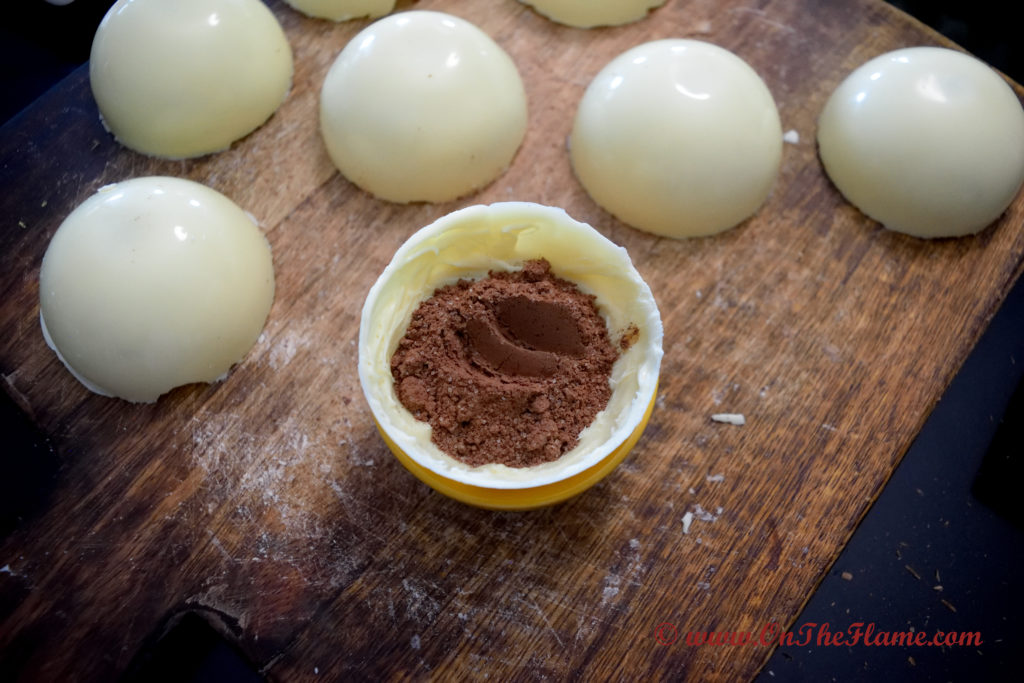

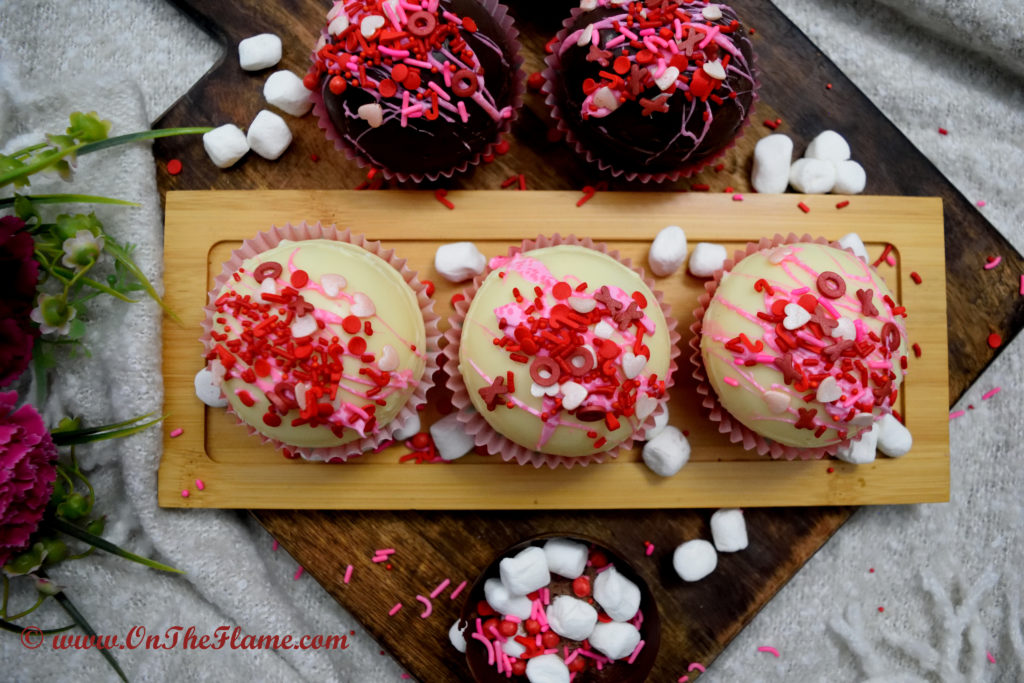
- So here I am going to fill 4 white spheres and 4 semi-sweet chocolate ones.

Seal the spheres
- First Pipe some tempered chocolate using icing bag or with brush around the rim of filled spheres (if chocolate is cooled place, it over double boiler or microwave until chocolate just warms back. Do not make it hot.


- Now gently release remaining spheres and place them over filled spheres, pressing gently to seal.
- Let them sit at room temperature for 20 minutes or until the chocolate it hardened.
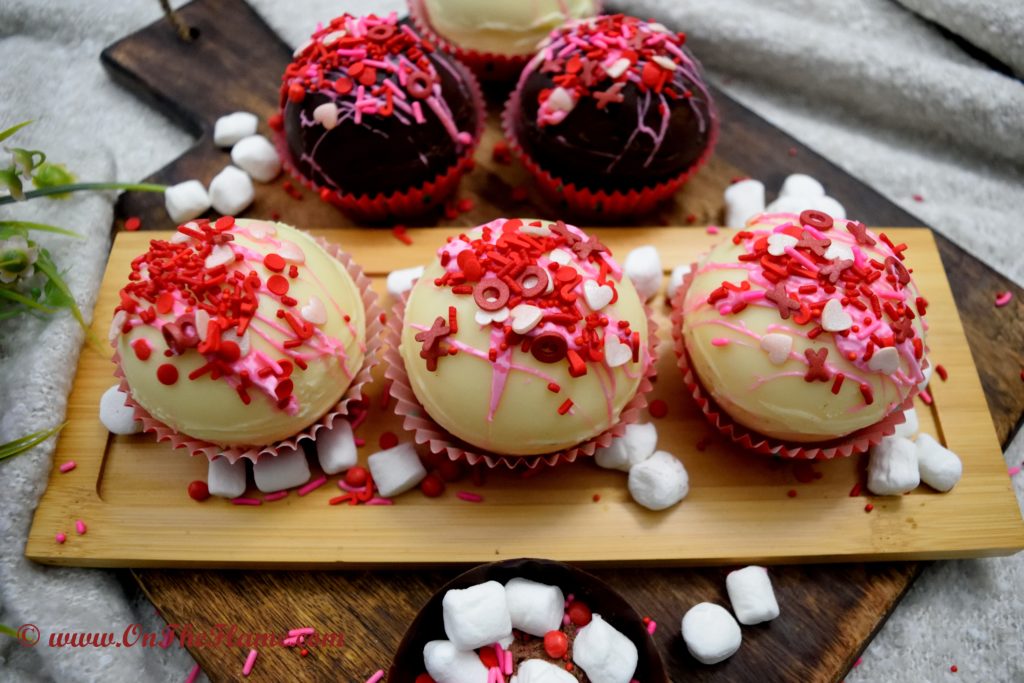
Decorate the bombs
- Wearing the gloves gently wipe away the excess chocolate or cover the seam with sprinklers to finish the look.
- For me my son did pretty good job making them and he wanted to decorated them from top so they look mouthwatering delicious.
- To do so, drizzle some lines of melted chocolate and some sprinklers of your choice and let the sit for more couple of minutes until they are set.

Packaging and Storage
- Place each chocolate bomb in cupcake liner. Liner helps them from rolling, looks cute for gifting and make it easy to handle.
- You can store these bombs in air tight container at room temperature for couple of days. Refrigerate during summer time.
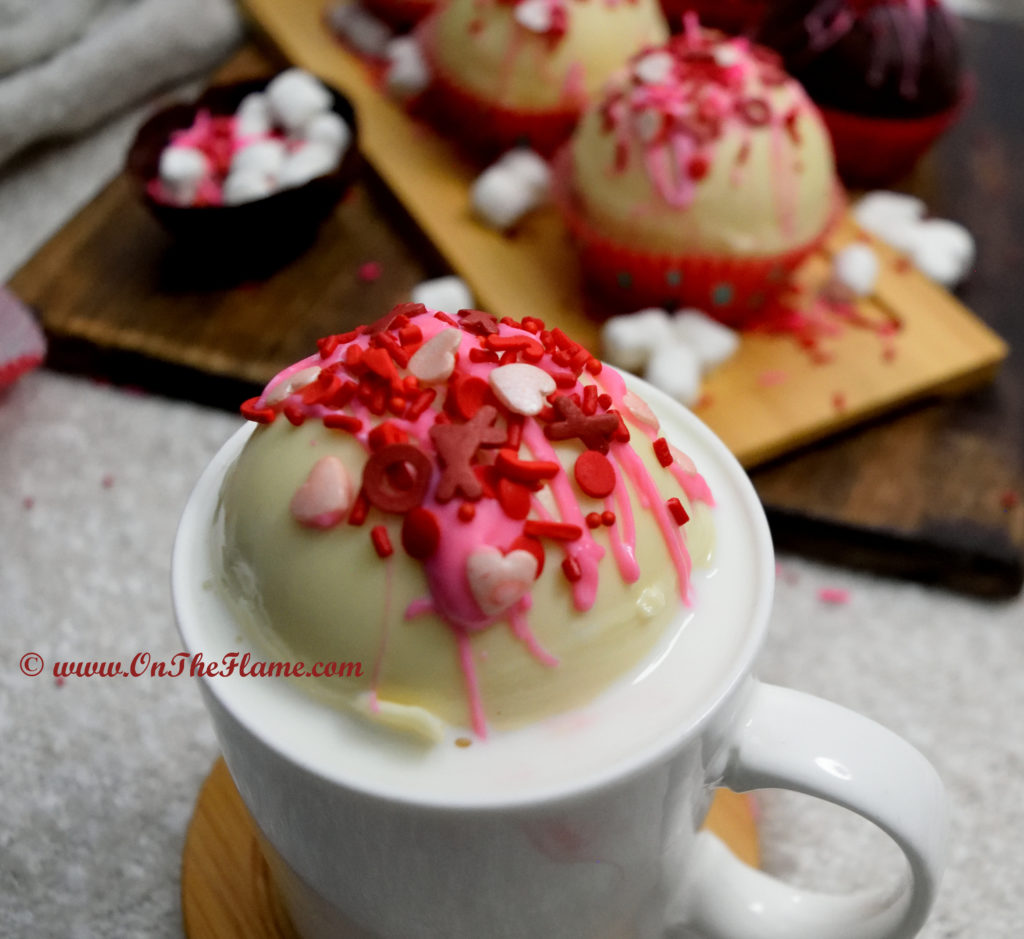
Serving the chocolate bombs:
- Last but not the least here comes the best part. Heat 1 wide /large cup of milk for each bomb until hot.

- Gently add the bomb in cup of hot milk and wait for the magic to happen. Stir or no stir, enjoy your artistic cup of Hot Cocoa.

Recipe Card


Hot Chocolate Bomb (Valentine’s Special)
Description
Hot cocoa bombs or hot chocolate bombs are tempered chocolate spheres filled with hot cocoa mix, mini marshmallows, sprinklers and served with steaming hot milk.
Ingredients
Tools Required
Instructions
Chop Chocolate:
-
If you are using cooking chocolate bar, finely chop chocolate using a sharp knife.
-
Chocolate chips can be used directly.
Tempering Chocolate
-
Tempering chocolate is process of heating and cooling chocolate. Tempering helps chocolate to stabilize, give it a smooth and glossy finish, set up beautifully for molding, coating or dipping chocolate treats. Tempering also helps chocolate from melting on your fingers while working with it. Tempering can be done with any one these two ways, explained below-
- Micro wave method- Place the chopped chocolate into a microwave safe bowl and heat for 30 seconds. Stir the chocolate, from outside toward the center. Heat again for 15 seconds and stir again. Repeat this process of heating and stirring, until the chocolate is almost melted. but not fully melted. Do not heat chocolate for longer than 15 seconds and never going above 90F. For me it took 1 minute in total.
- Double boiler method- Set a double boiler, simply using a pan for bottom part filled with water and for top part a heat resistance glass bowl or pan to melt cholate in it. Fill the bottom pan with 1-2 inches of water and let it simmer in medium heat. Place 2/3 chocolate to the top bowl and place it over bottom pot. Melt chocolate in the double boiler over hot water (not boiling water), while stirring continuously using silicon spatula. Silicon spatula comes very handy while scraping from the sides. Keep an eye on the chocolate temperature, it should not get too hot and should not exceed 100° F. To check temperature, you can either use probe thermometer or check using your hand. It should be too hot to touch. Remove the bowl from double boiler and add remaining 1/3 of chocolate. Stir until everything is well incorporated and melted well. The chocolate is now ready to use.
Coat the mold with tempered chocolate
-
Make sure the molds are clean and dry before using them. Pour 1 Tbsp. of chocolate in each sphere (I am using here 2 trays, 6 sphere, 2” wide).
-
Using a brush, spread the chocolate and coat the sphere well up to the sides and over the edges but just a bit.
-
Once you see nice hard layer, pour around 1 Tsp. chocolate into the sphere and brush them well to get thick even coating.
-
Let them sit at room temperature for 20-30 minutes or refrigerate for 5 minutes to set the chocolate spheres.
Remove the chocolate spheres from the mold
-
Once chocolate spheres are set, gently remove half the spheres from mold and place over cookie cutter or small bowls or upside down on a dry tray.
-
Leave half of them resting in mold.
-
Do not forget to wear hand gloves. Bare hands might leave impression on spheres and spheres might start melting with body heat.
Fill the mold
-
Fill the half of the spheres with 1 Tbsp. of hot cocoa mix and mini marshmallow making mountain.
-
So here I am going to fill 4 white spheres and 4 semi-sweet chocolate ones.
Seal the spheres
-
First Pipe some tempered chocolate using icing bag or with brush around the rim of filled spheres (if chocolate is cooled place, it over double boiler or microwave until chocolate just warms back. Do not make it hot.
-
Now gently release remaining spheres and place them over filled spheres, pressing gently to seal.
-
Let them sit at room temperature for 20 minutes or until the chocolate it hardened.
Decorate the bombs
-
Wearing the gloves gently wipe away the excess chocolate or cover the seam with sprinklers to finish the look.
-
For me my son did pretty good job making them and he wanted to decorated them from top so they look mouthwatering delicious.
-
To do so, drizzle some lines of melted chocolate and some sprinklers of your choice and let the sit for more couple of minutes until they are set.
Packaging and Storage
-
Place each chocolate bomb in cupcake liner. Liner helps them from rolling, looks cute for gifting and make it easy to handle.
-
You can store these bombs in air tight container at room temperature for couple of days. Refrigerate during summer time.
Serving the chocolate bombs
-
Last but not the least here comes the best part. Heat 1 wide /large cup of milk for each bomb until hot.
-
Gently add the bomb in cup of hot milk and wait for the magic to happen. Stir or no stir, enjoy your artistic cup of Hot Cocoa.
Note
- The best chocolate to make chocolate bombs: Semi-sweet couverture chocolate or high-quality bar chocolates works best to make these bombs. Couverture chocolate is superior quality chocolate that contains a higher percentage of cocoa that is 65% or more than other baking or eating chocolate and contains cocoa butter. Couverture chocolate melts in mouth and is glossier. Couverture chocolate is tempered and should not be melted thoroughly.
- How to temper chocolate: Tempering chocolate is process of heating and cooling chocolate. Tempering helps chocolate to stabilize, give it a smooth and glossy finish, set up beautifully for molding, coating or dipping chocolate treats. Tempering also helps chocolate from melting on your fingers while working with it. Tempering can be done with anyone these two ways, Micro wave method or Double boiler method.
- Hot chocolate bomb mold: To make these bombs both silicon mold and acrylic molds works well. In case if you don’t have mold, no worries you can use silicon muffin cups, mini muffin tray or even Easter eggs,
- Packaging and Storage: Place each chocolate bomb in cupcake liner. Liner helps them from rolling, looks cute for gifting and make it easy to handle. You can store these bombs in air tight container at room temperature for couple of days. Refrigerate during summer time.

Looks 🤤